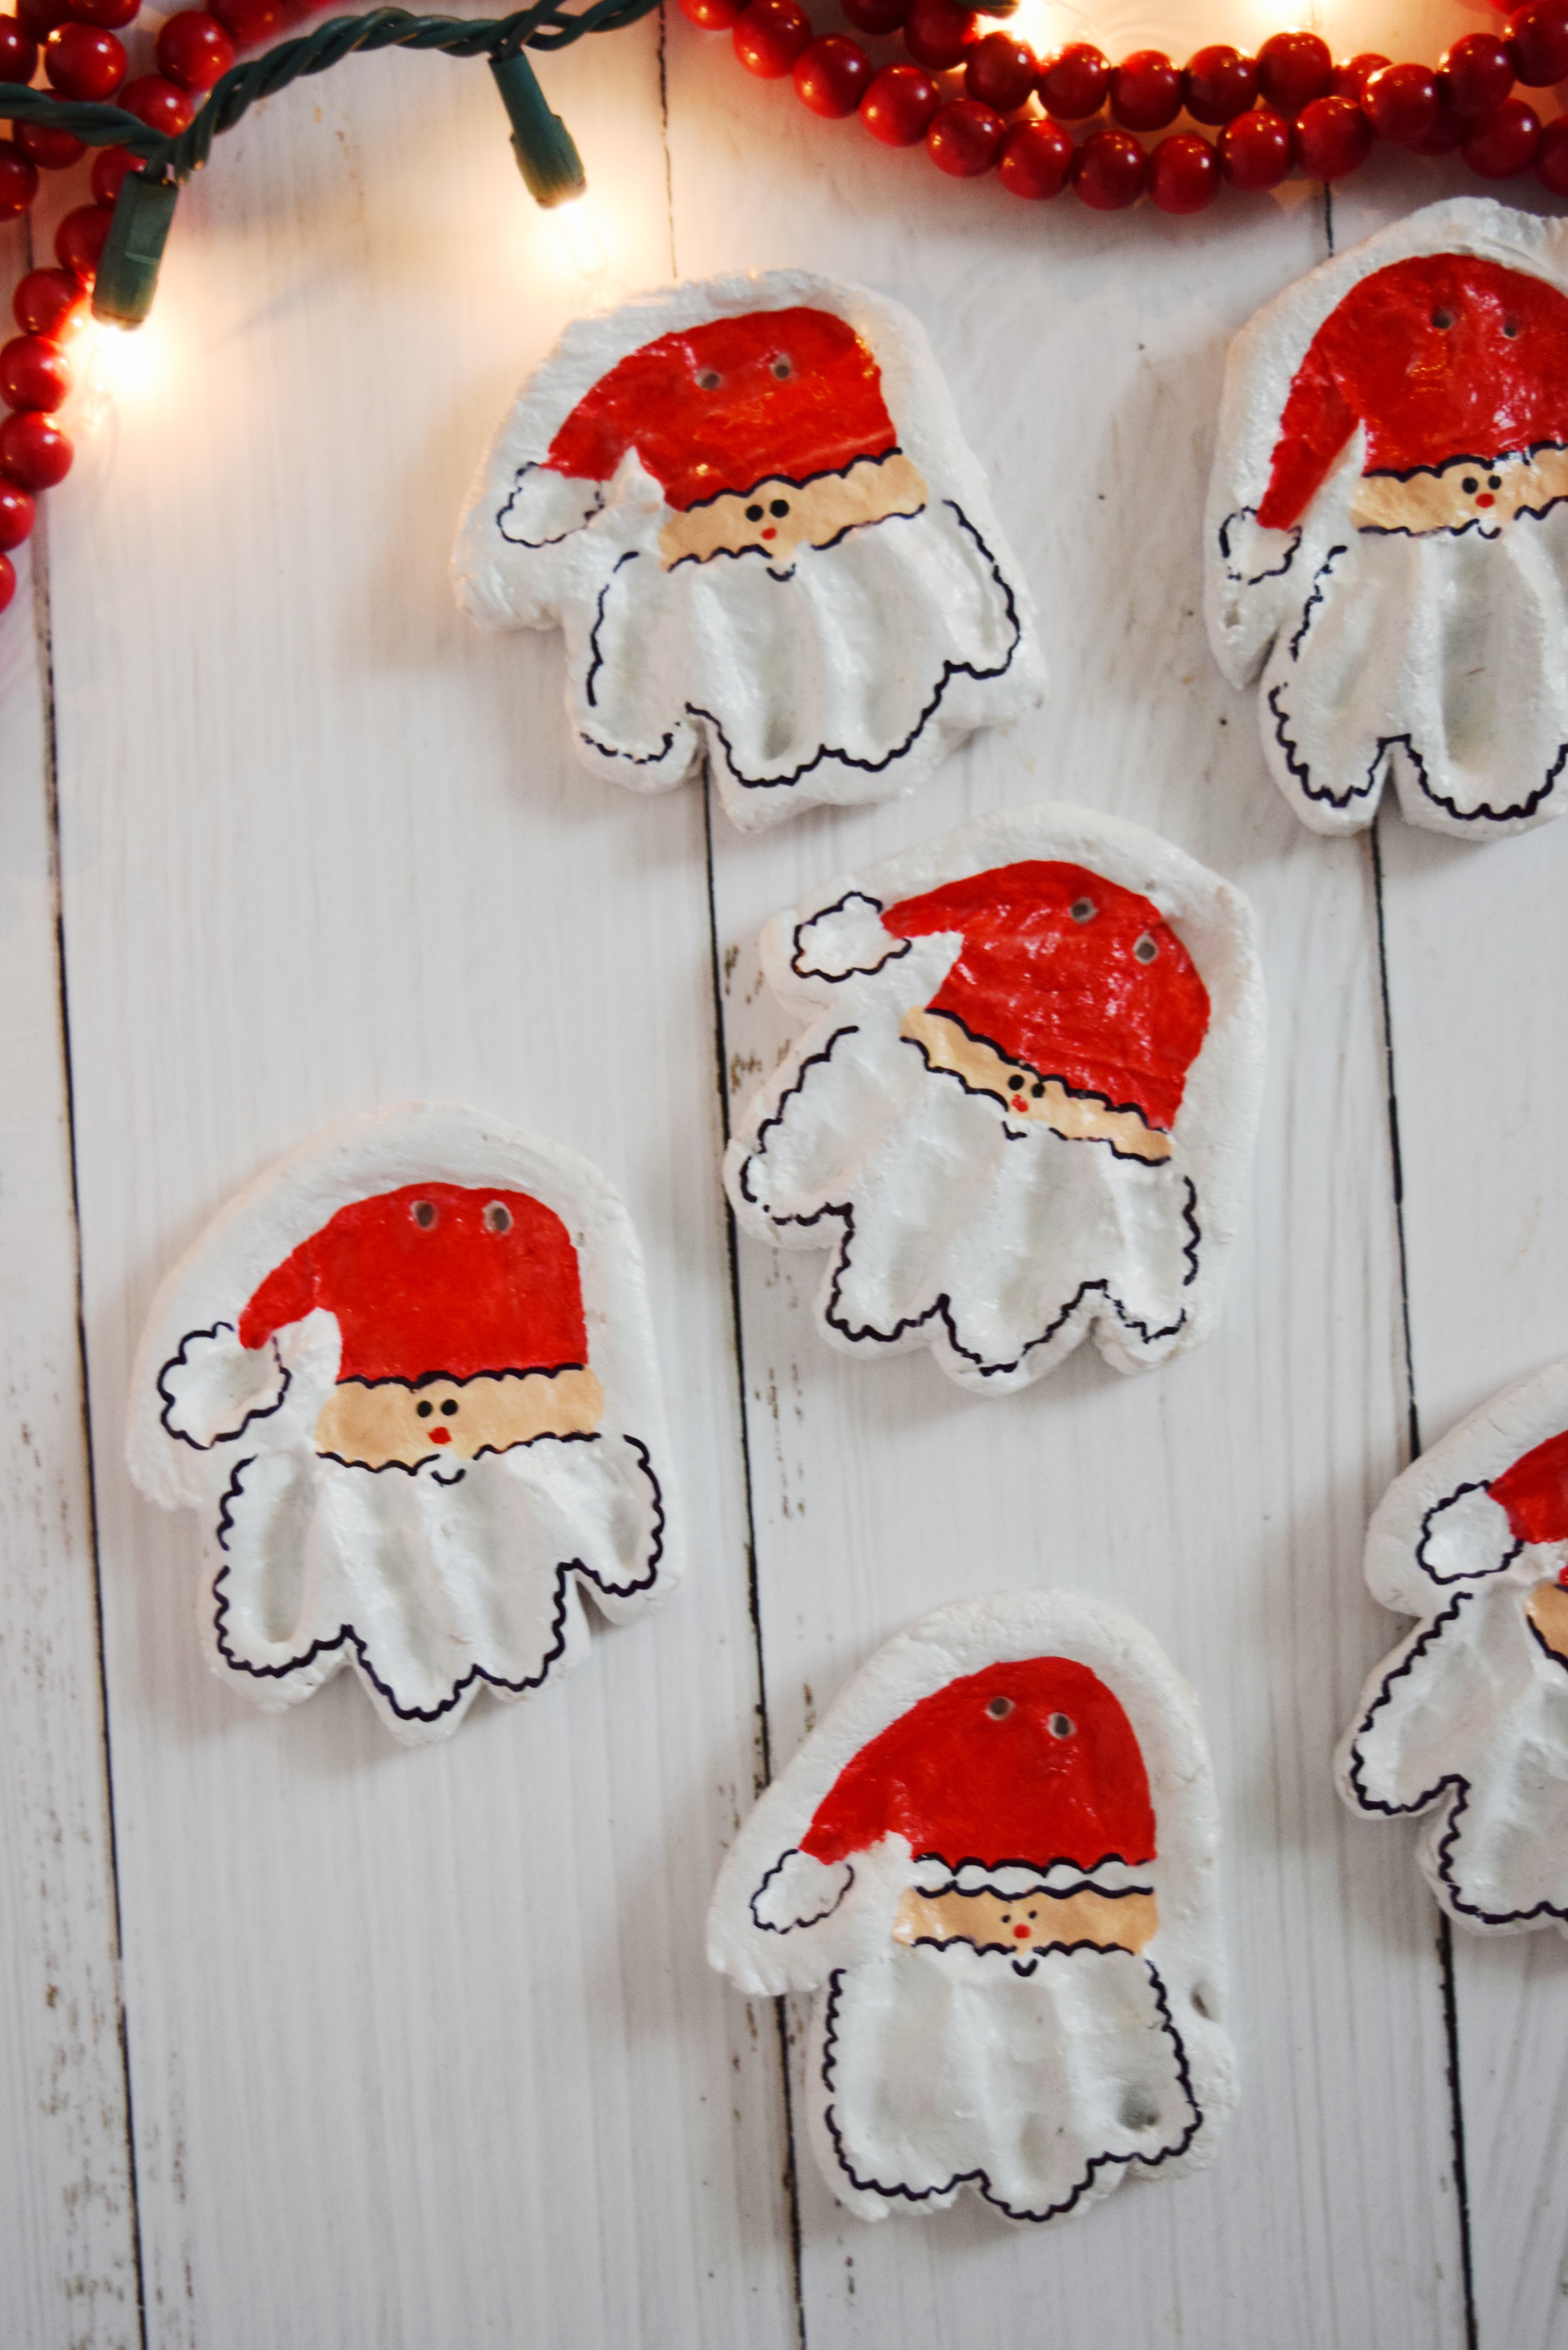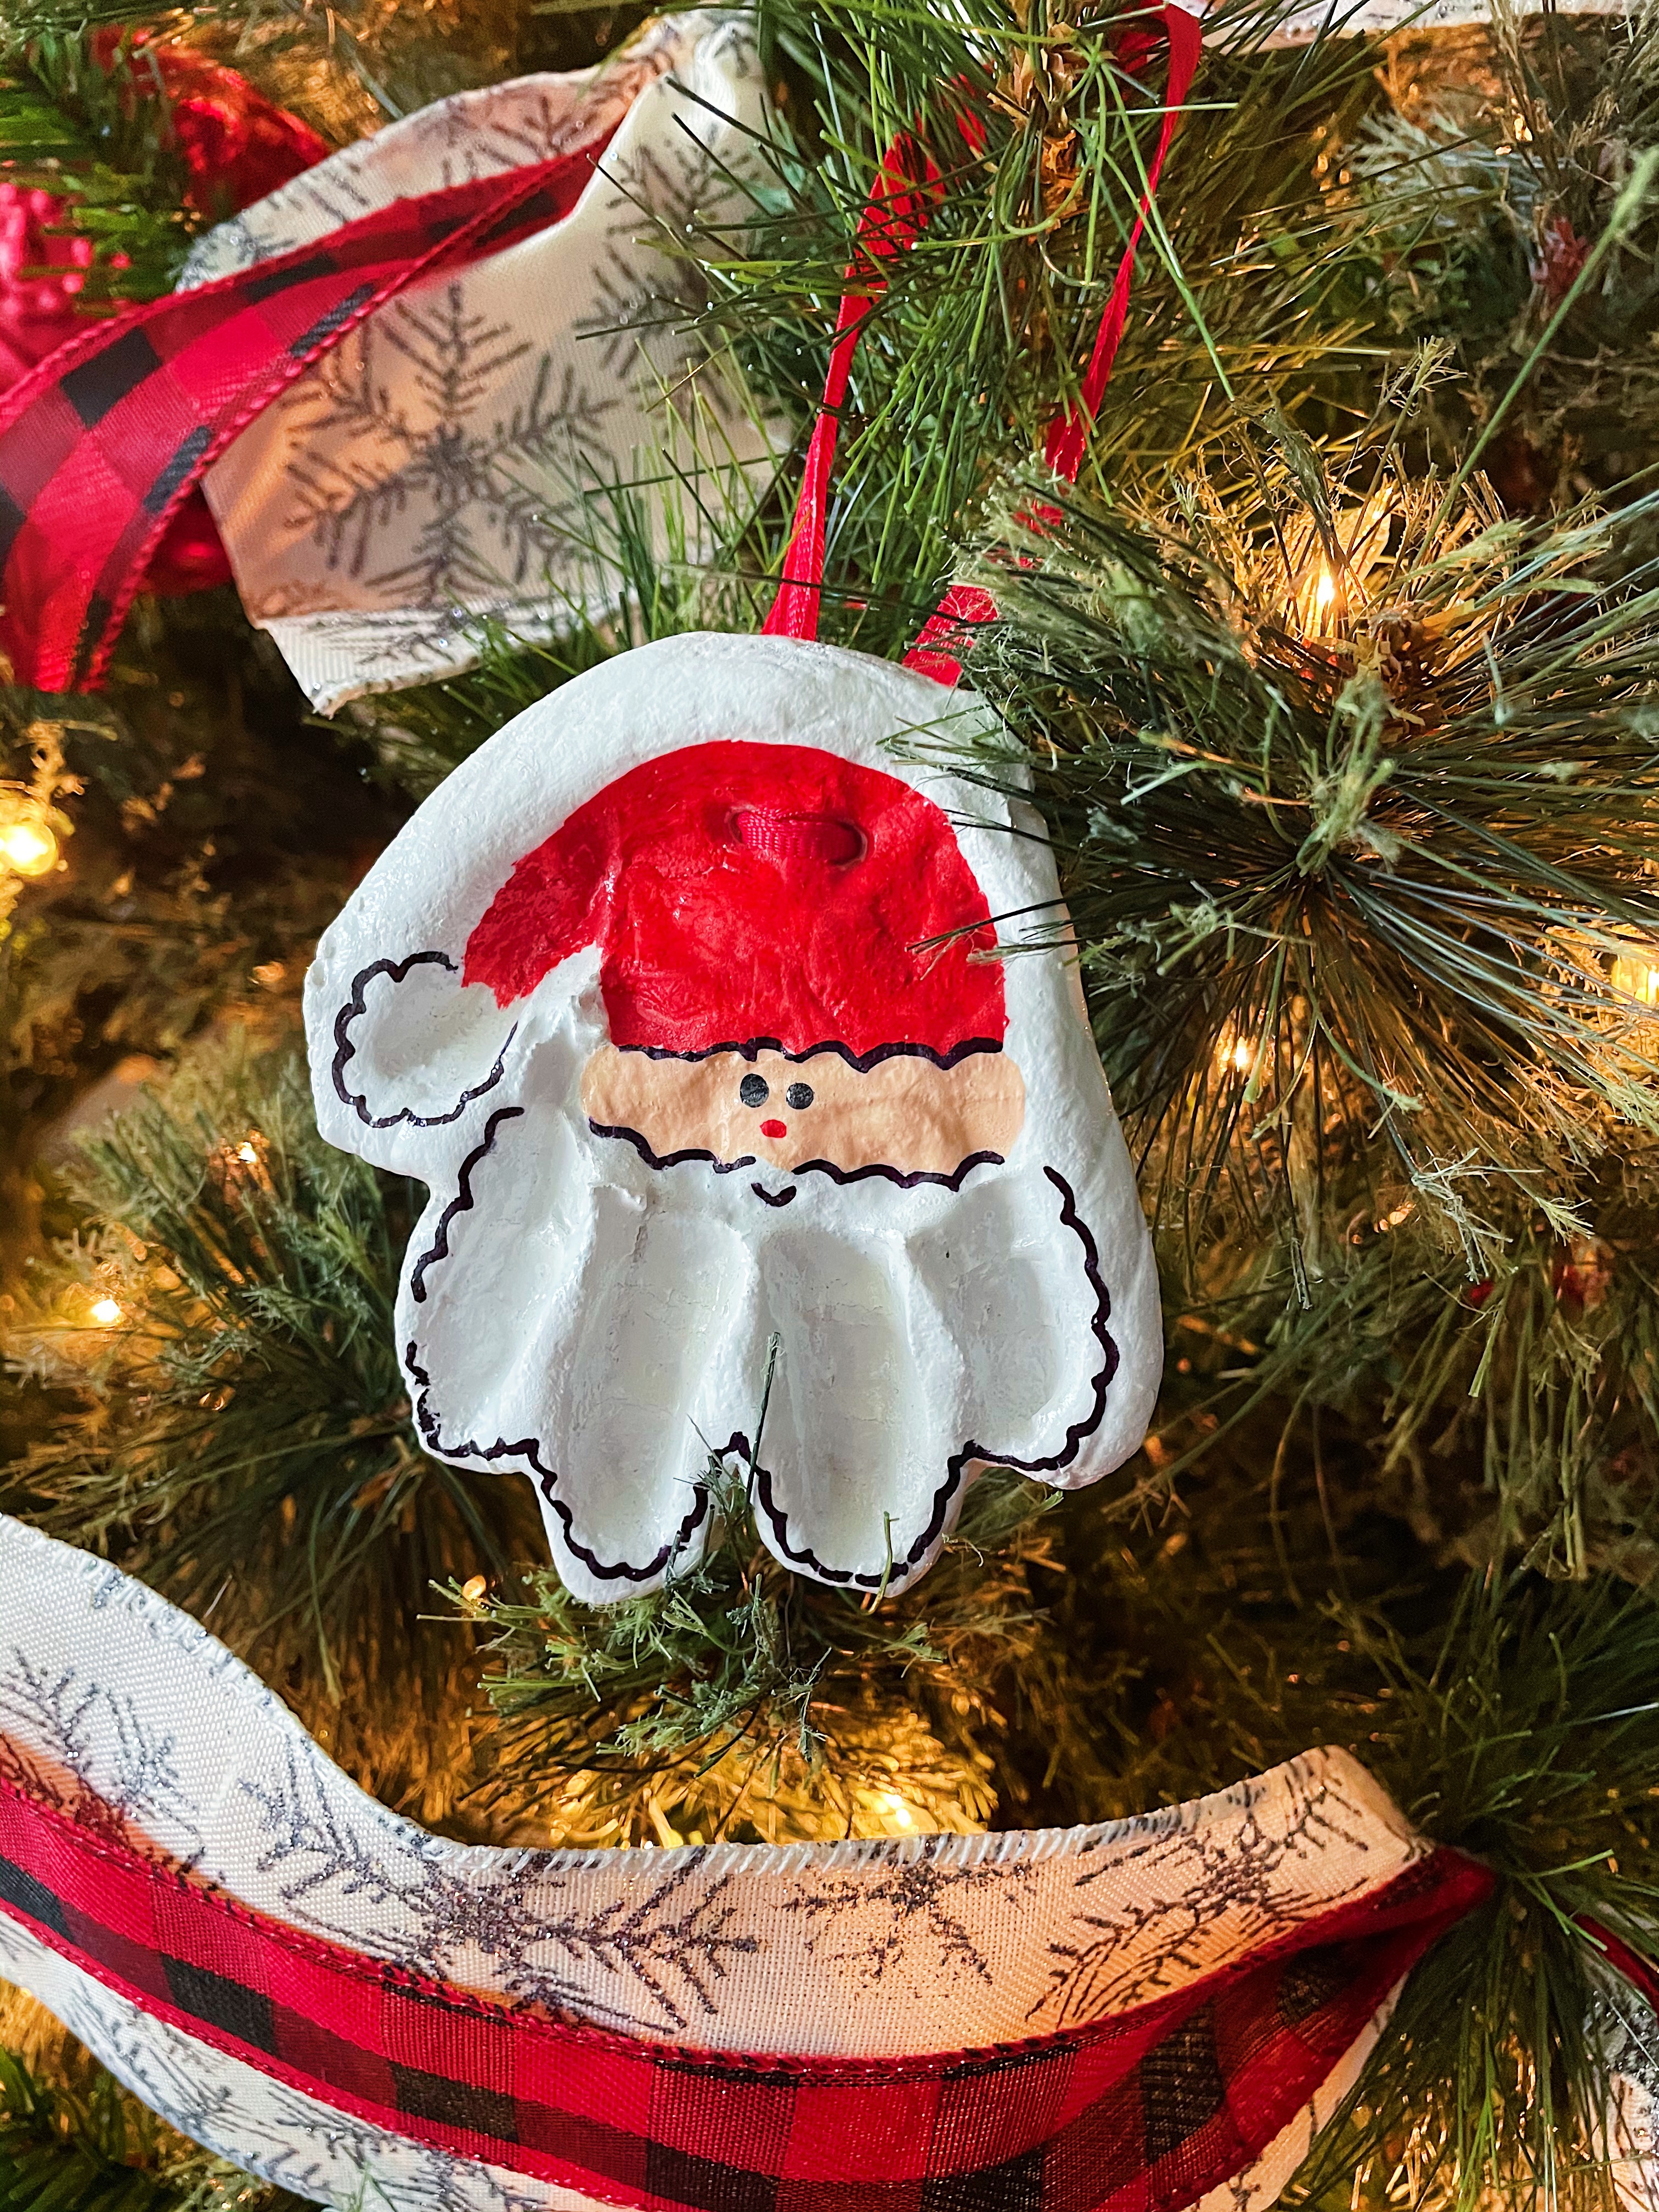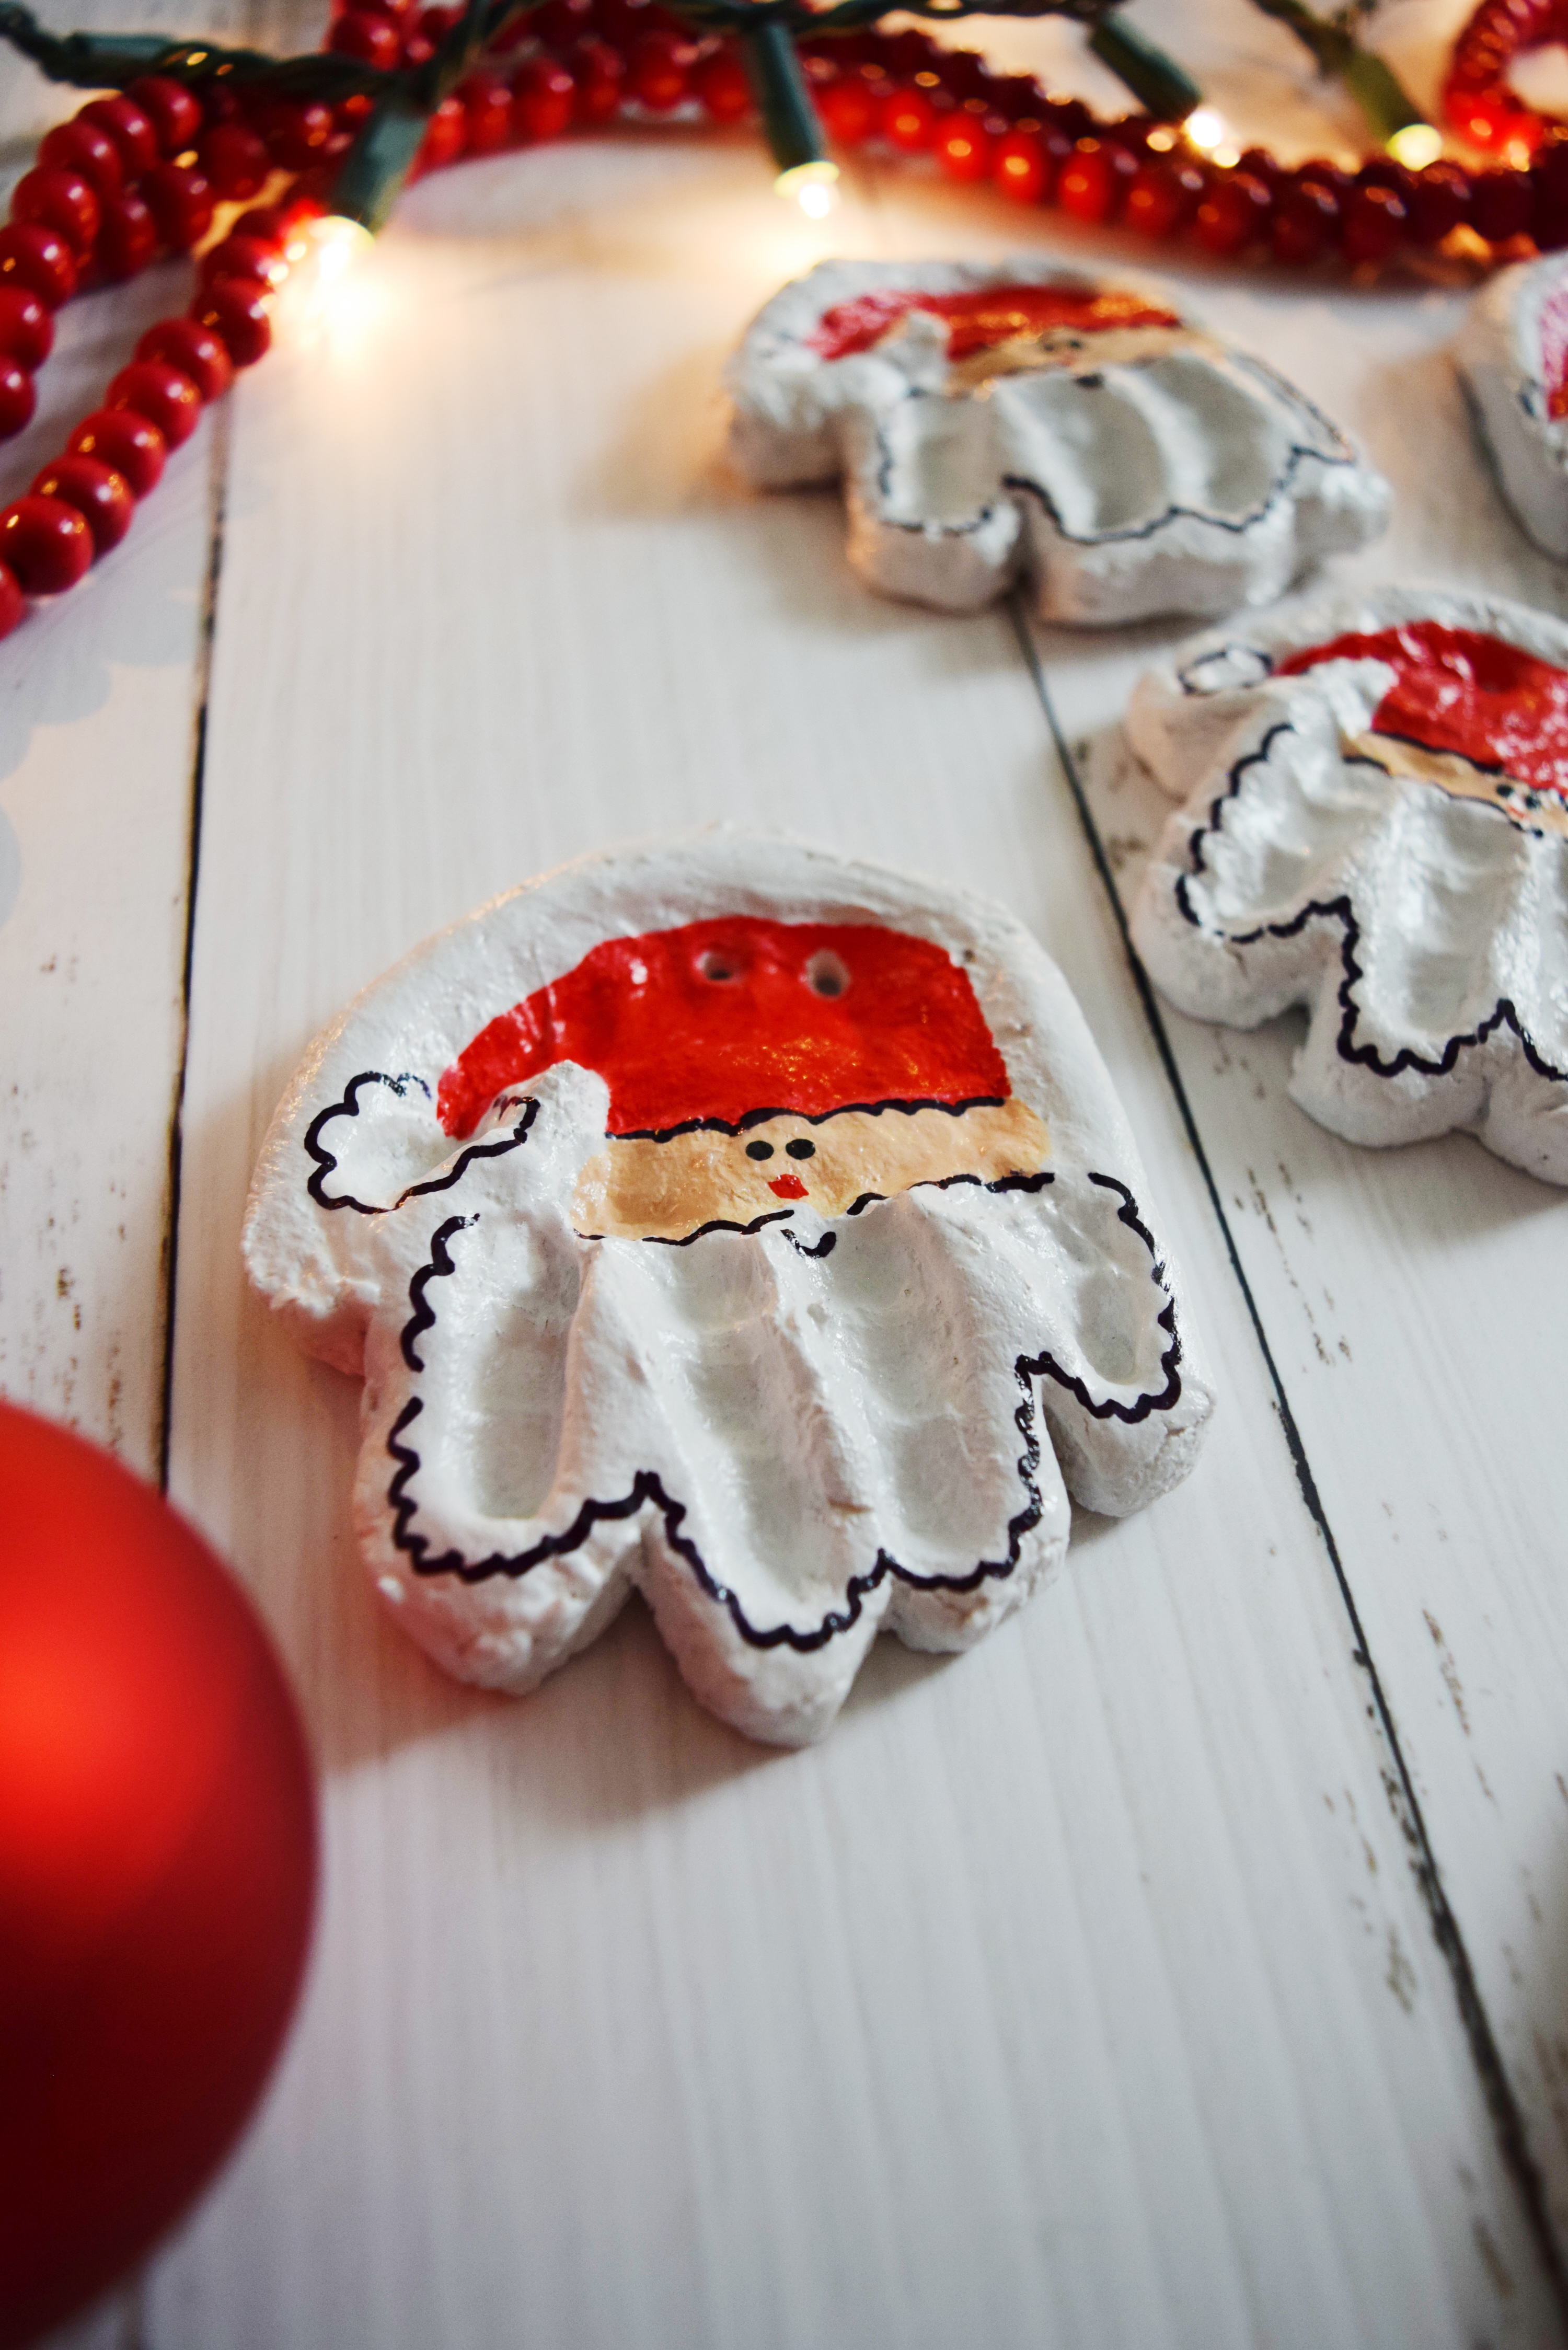
Earlier this season, a local boutique held an ornament-making event with the cutest Santa handprint ornaments. I was ready to make the drive to Fort Worth, mask and all, until I saw it was SIXTY DOLLARS per ornament. No thanks. I zipped onto Google, found a salt dough recipe, and I’m so pleased with how they came out.
There’s nothing groundbreaking about these instructions, but I wanted to share what I did and what I learned so that y’all can have ornaments you love too (for much less than $60 a piece). You’ll find helpful hints bolded throughout the post.

Santa Salt Dough Ornament: What You’ll Need
For 8 four-month-old-size handprints, you’ll need:
- 2 cups flour
- 1/2 cup salt
- 3/4 cup warm water
- Wax paper
- Rolling pin
- Small knife
- Toothpick
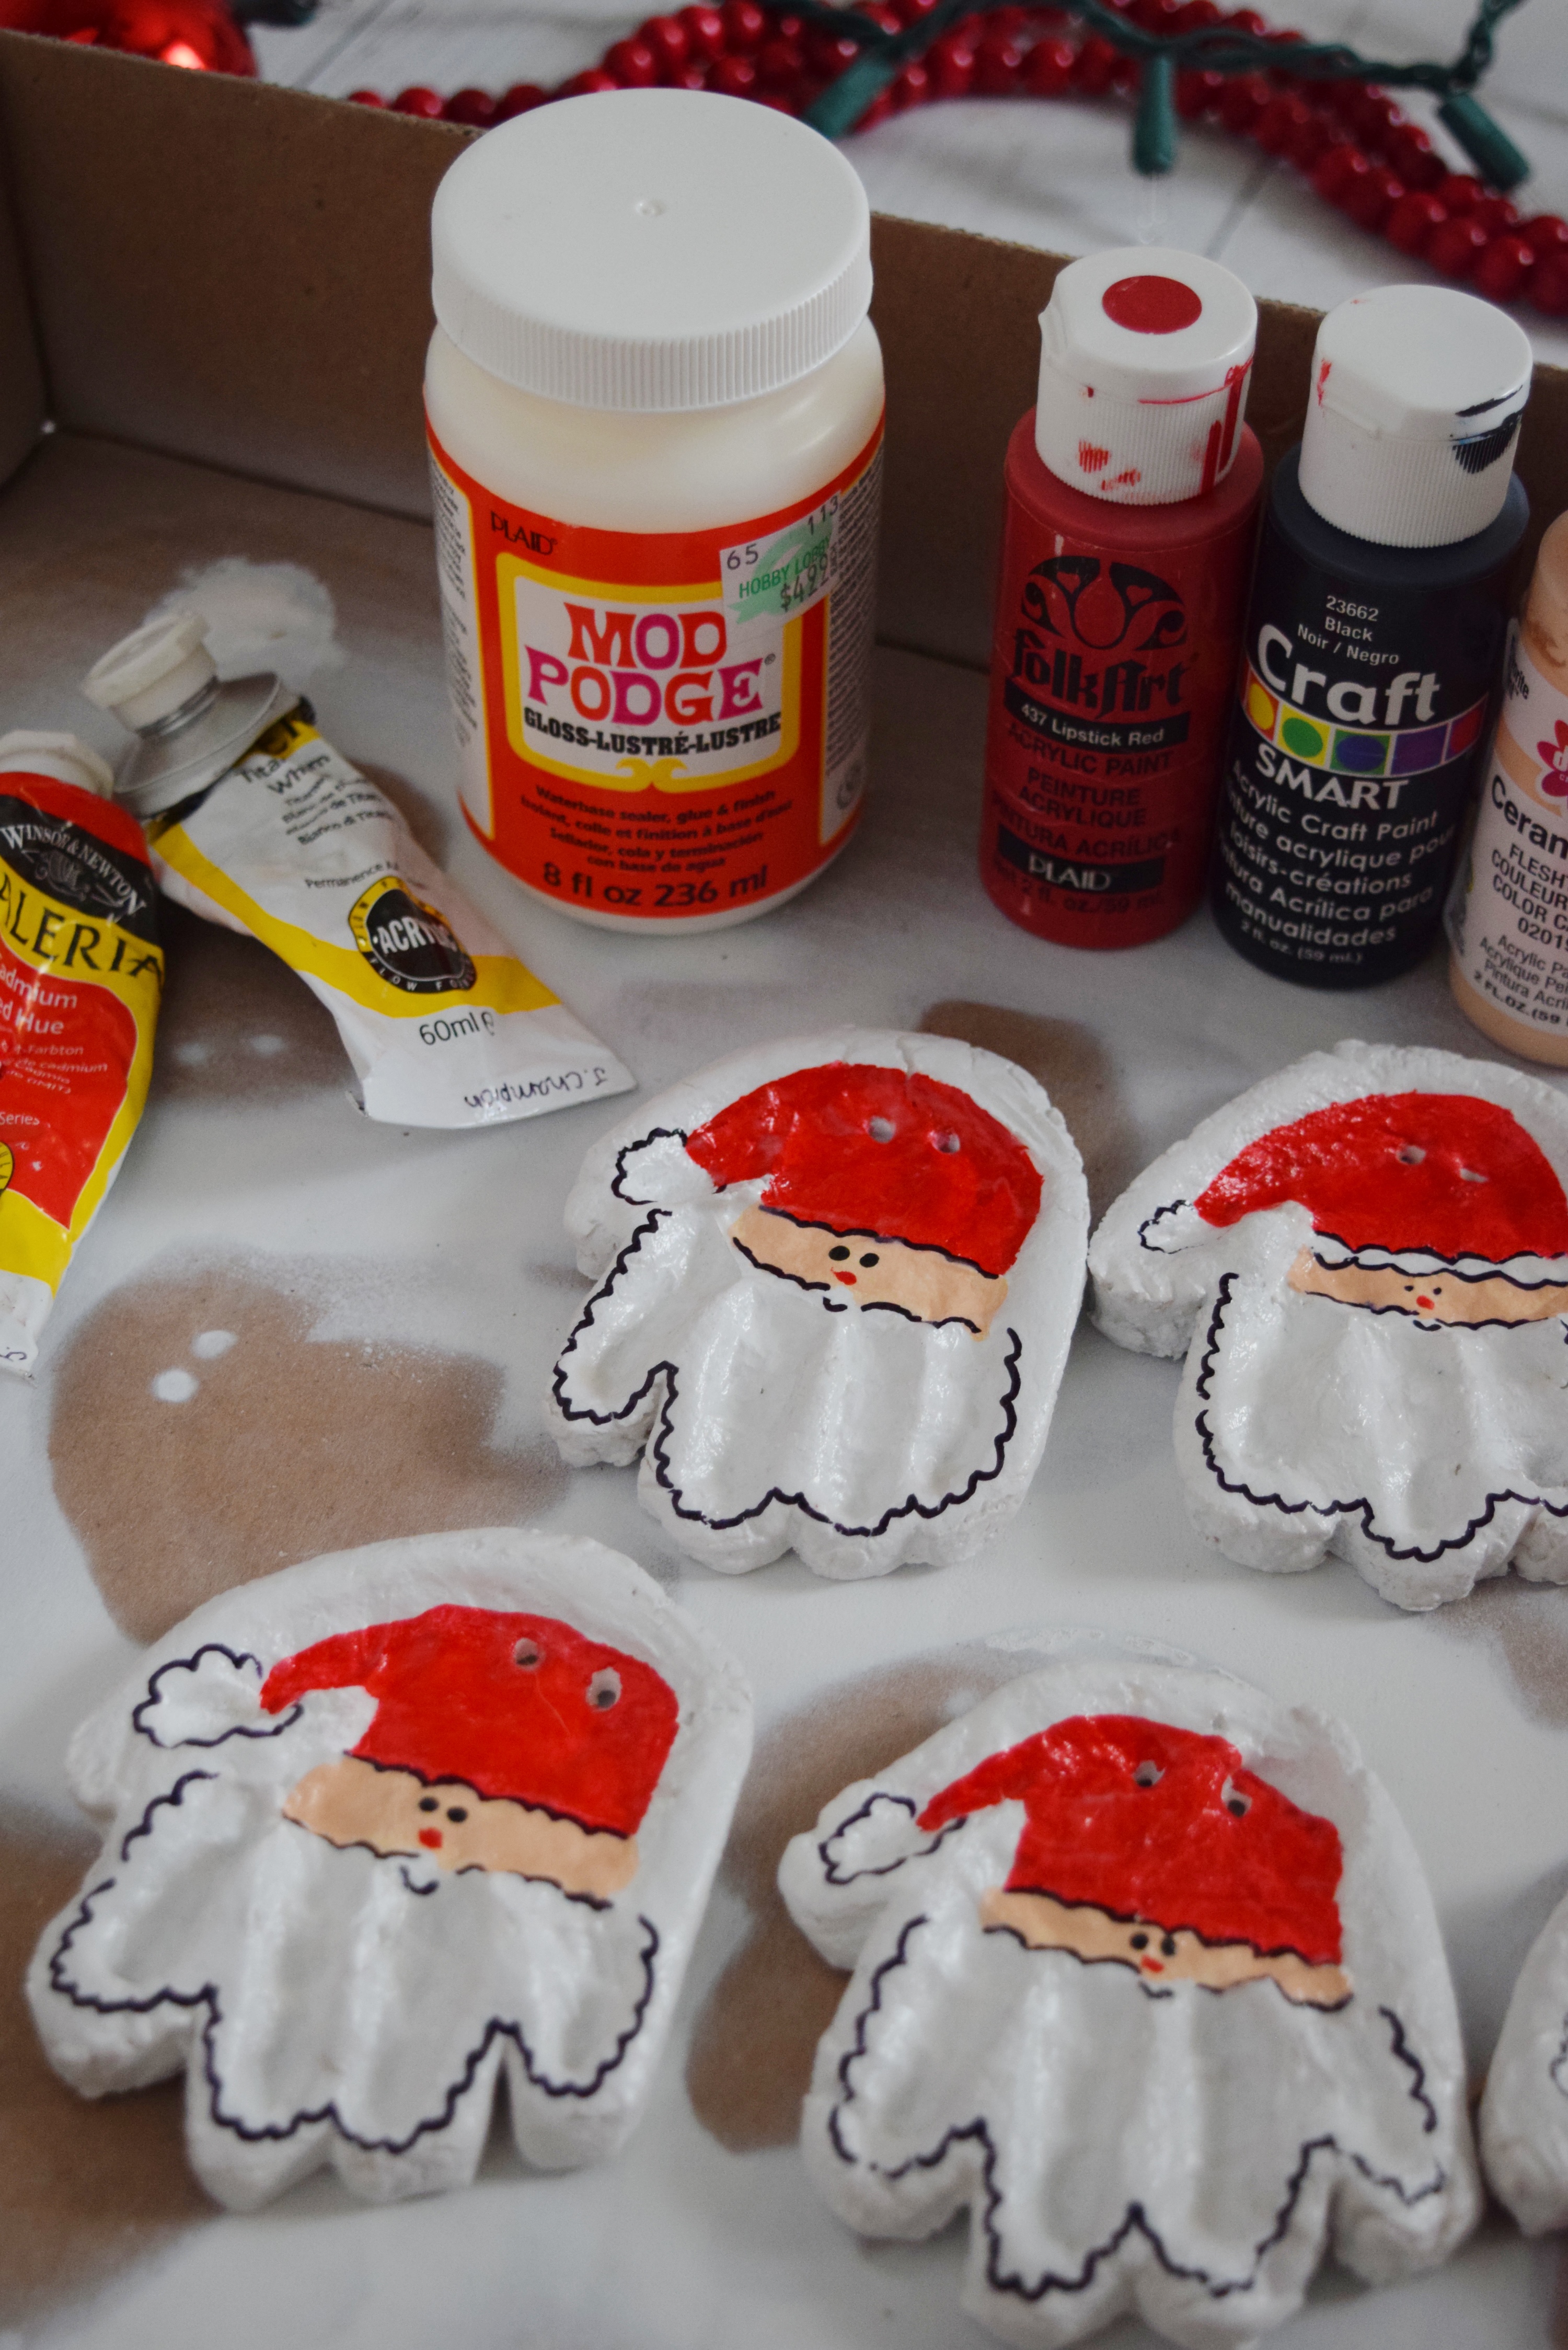
- Modge Podge
- Acrylic paint (white, red, and chosen skin color)
- Paintbrushes
- Ribbon
- White spray paint (optional)
For bigger hands or more ornaments, just double or triple the flour, salt and warm water ingredients.
How to Make Santa Handprint Salt Dough Ornaments
Part 1: Make the dough
- In a large bowl, mix together flour, salt (cheap iodized salt is fine) and warm water until a dough forms. Set aside.
- Lay out a piece of wax paper, place the ball of dough on top (you can split the dough into two batches to make it easier), and cover with another piece of wax paper (so it’s like a sandwich with the dough in between two pieces of wax paper).
- Using a rolling pin, roll out the dough to about 1/8 to 1/4″ thick.
- Remove the top wax paper, grab your kiddo and get those handprints going. If you have a small child, get someone to help you here. If you mess up, just roll out the dough and try again. Get as many handprints as you can (even if you don’t need them all), leaving a slight border between them. You can just pick the best ones out of all the handprints you get.
Helpful hint: After the handprints are done, slide the dough (still on wax paper) onto a dinner plate or cookie sheet and put it in the freezer for 10-15 min. This makes it easier to get clean cuts when you cut out the handprints next.
Part 2: Cutting out handprints
- Using a small paring knife, carefully cut out the handprints, leaving about 1/4″ border between the edge of the hand and the cut edge. Just pull up the excess dough as if you were making sugar cookies.
- The handprints won’t expand much while baking, but still try to scoot them a little apart if they’re right up against each other. The easiest way to do this is flip the wax paper over so the handprint falls into your hand. If you try to pick it up off the wax paper, it can distort the shape really easily.
- Don’t forget to poke your ribbon holes! Use the end of a round skewer, or the end of a thin paintbrush, really anything that’s the right size. Wiggle it a little to get it to poke all the way through. You can use a toothpick to help clear any dough at the bottom if needed. Doing 2 ribbon holes (like in these pictures) allows for them to hang and face out rather than hanging sideways.
- Arrange on parchment paper on a baking sheet (don’t bake the wax paper!) and bake for 1 hour at 300 degrees.

Part 3: Painting
Helpful hint: If you have the time, do the painting on a different day than the baking. I would paint 1 layer on each ornament before bed, let them dry overnight, and the next day do another part.
- Paint the ornaments white so that your red Santa hat really pops. I spray painted them first, but ended up adding a layer of white paint anyway. You could likely do 1 or 2 layers of thick white paint and skip the spray painting.
- Paint the red of the Santa hat, allow to dry completely.
- Paint the skin part of Santa’s face, allow to dry completely.
- Using a black Sharpie, draw on the cotton end of Santa’s hat, the white border of the Santa hat above his eyes, and the outline of the fingers to be his beard. This doesn’t have to be perfect – the imperfections give each one character. Helpful hint: Use a new or new-ish Sharpie to get precise lines.
- With the Sharpie, make sure to write the kid’s name and year on the back of the ornament.
- Dip the opposite end of a paintbrush into black and dot on Santa’s eyes, and repeat with red for his nose.
- Lastly, draw on Santa’s smile.
Allow to dry completely (ideally overnight), and coat with Modge Podge the next day. The Modge Podge will initially look super thick- don’t worry- it will dry clear. You could also try to seal with a spray paint sealer – let me know how that works if you try it!
Helpful hint: Use a toothpick to make sure the ribbon holes stay empty after applying the Modge Podge. You don’t want them to get blocked.

This may seem like a lot of steps, but do each step on all the handprints before moving onto the next step, and overall the whole batch goes quick. There’s also down time while each painted section dries. I would paint on all the Santa’s hats before bed (20 min), then the next morning do the beard outlines (5 min), etc.
For the ribbon, cut the edges at a diagonal so they’re easy to poke through the holes. I did classic red, but a plaid ribbon would look good too.
That’s it! A gift you’ll treasure for years to come (and a great gift for grandparents, too.) We gave ours at Thanksgiving so they could put it on the tree and enjoy it through Christmas. You could also tie it on a gift for a cute topper!
More gift-able handmade goodies:
- Cookies & Cream Peppermint Bark
- Cookie Mix in a Mason Jar DIY
- Cream Cheese Swirl Brownies ( a reader fave!)
If you make these DIY Santa handprint salt dough ornaments, leave a comment below! I’d love to hear how it went for you! Happy Holidays!

Leave a Reply