This post contains affiliate links. That means if you click or make a purchase, I make a little cash at no extra cost to you. I’ll probably use it to feed my dog. Thanks for feeding Sadie. (Don’t worry, she gets food regardless)
Have you seen that YouTube video about how we grow up and still call our mothers for everything? That was me while cooking my first Thanksgiving turkey. I even made my husband hold my iPhone while I FaceTimed her to ask a question, hands deep in the turkey. Between all the internet research, Facebook pleas for advice and calls to my mom, I ended up with a perfectly browned, and tasty bird. On my first try! I’ve rounded up all the advice and tools you need to cook your first Thanksgiving turkey! I promise, it’s much easier than you think😉
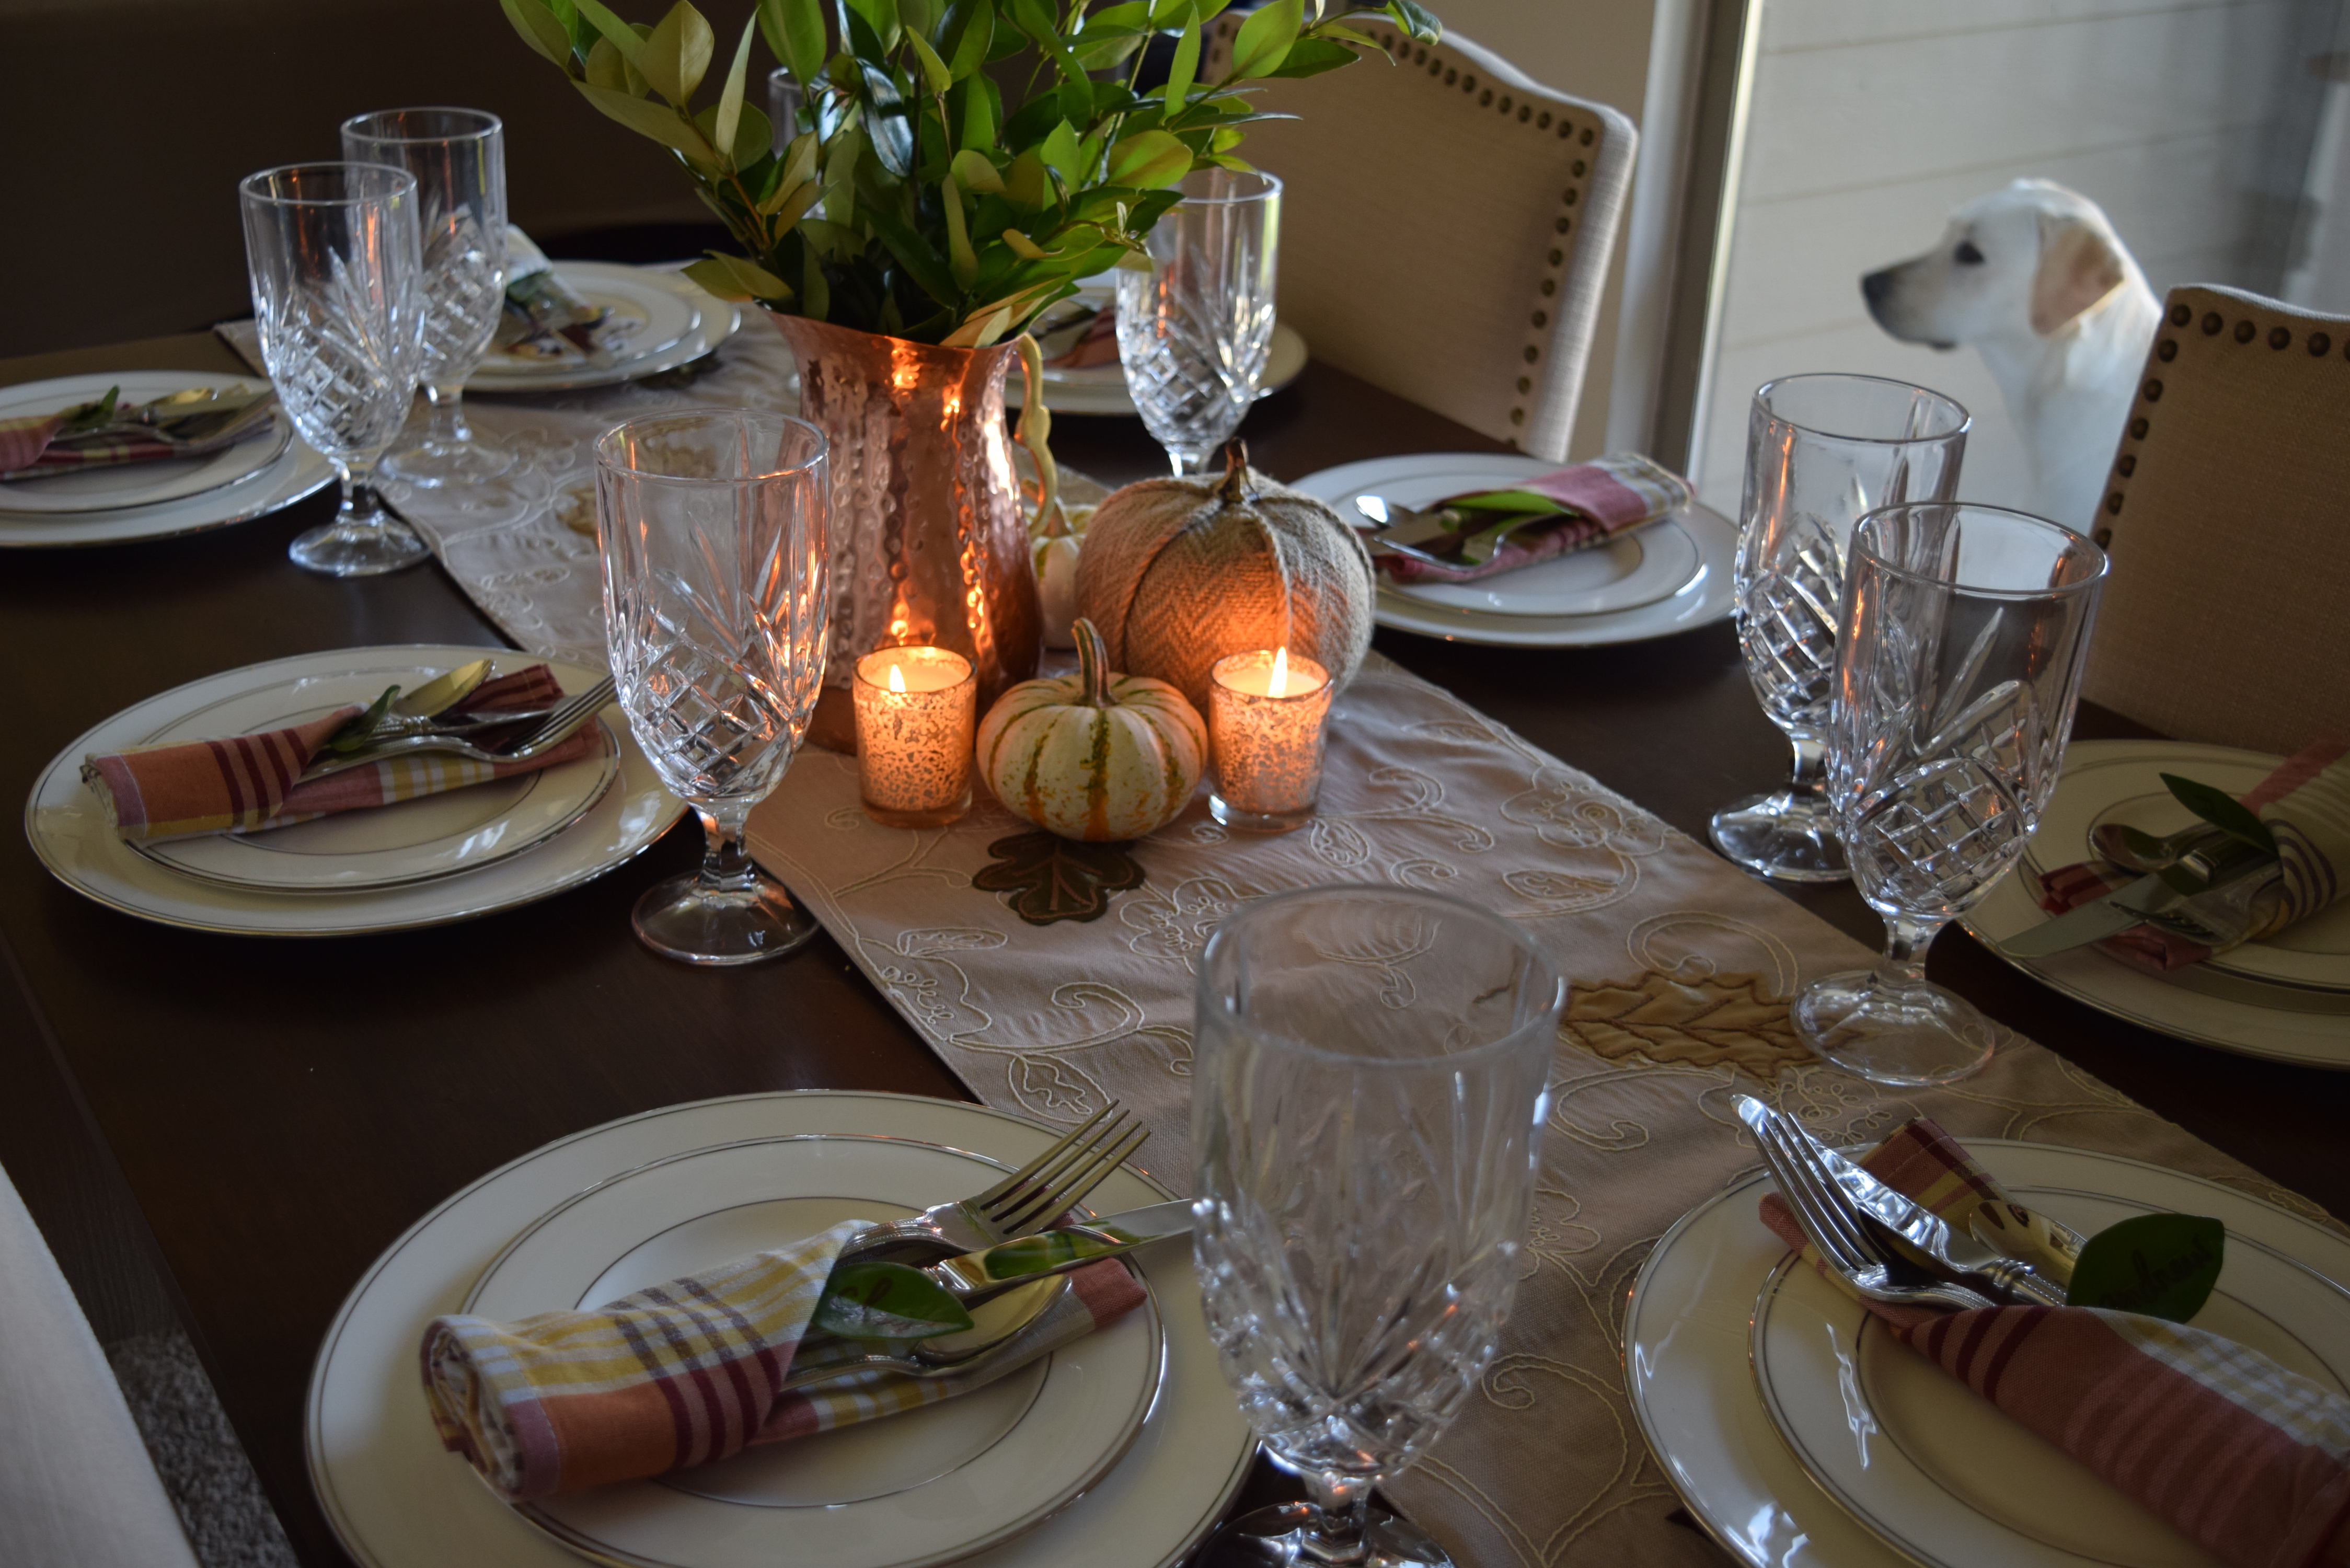
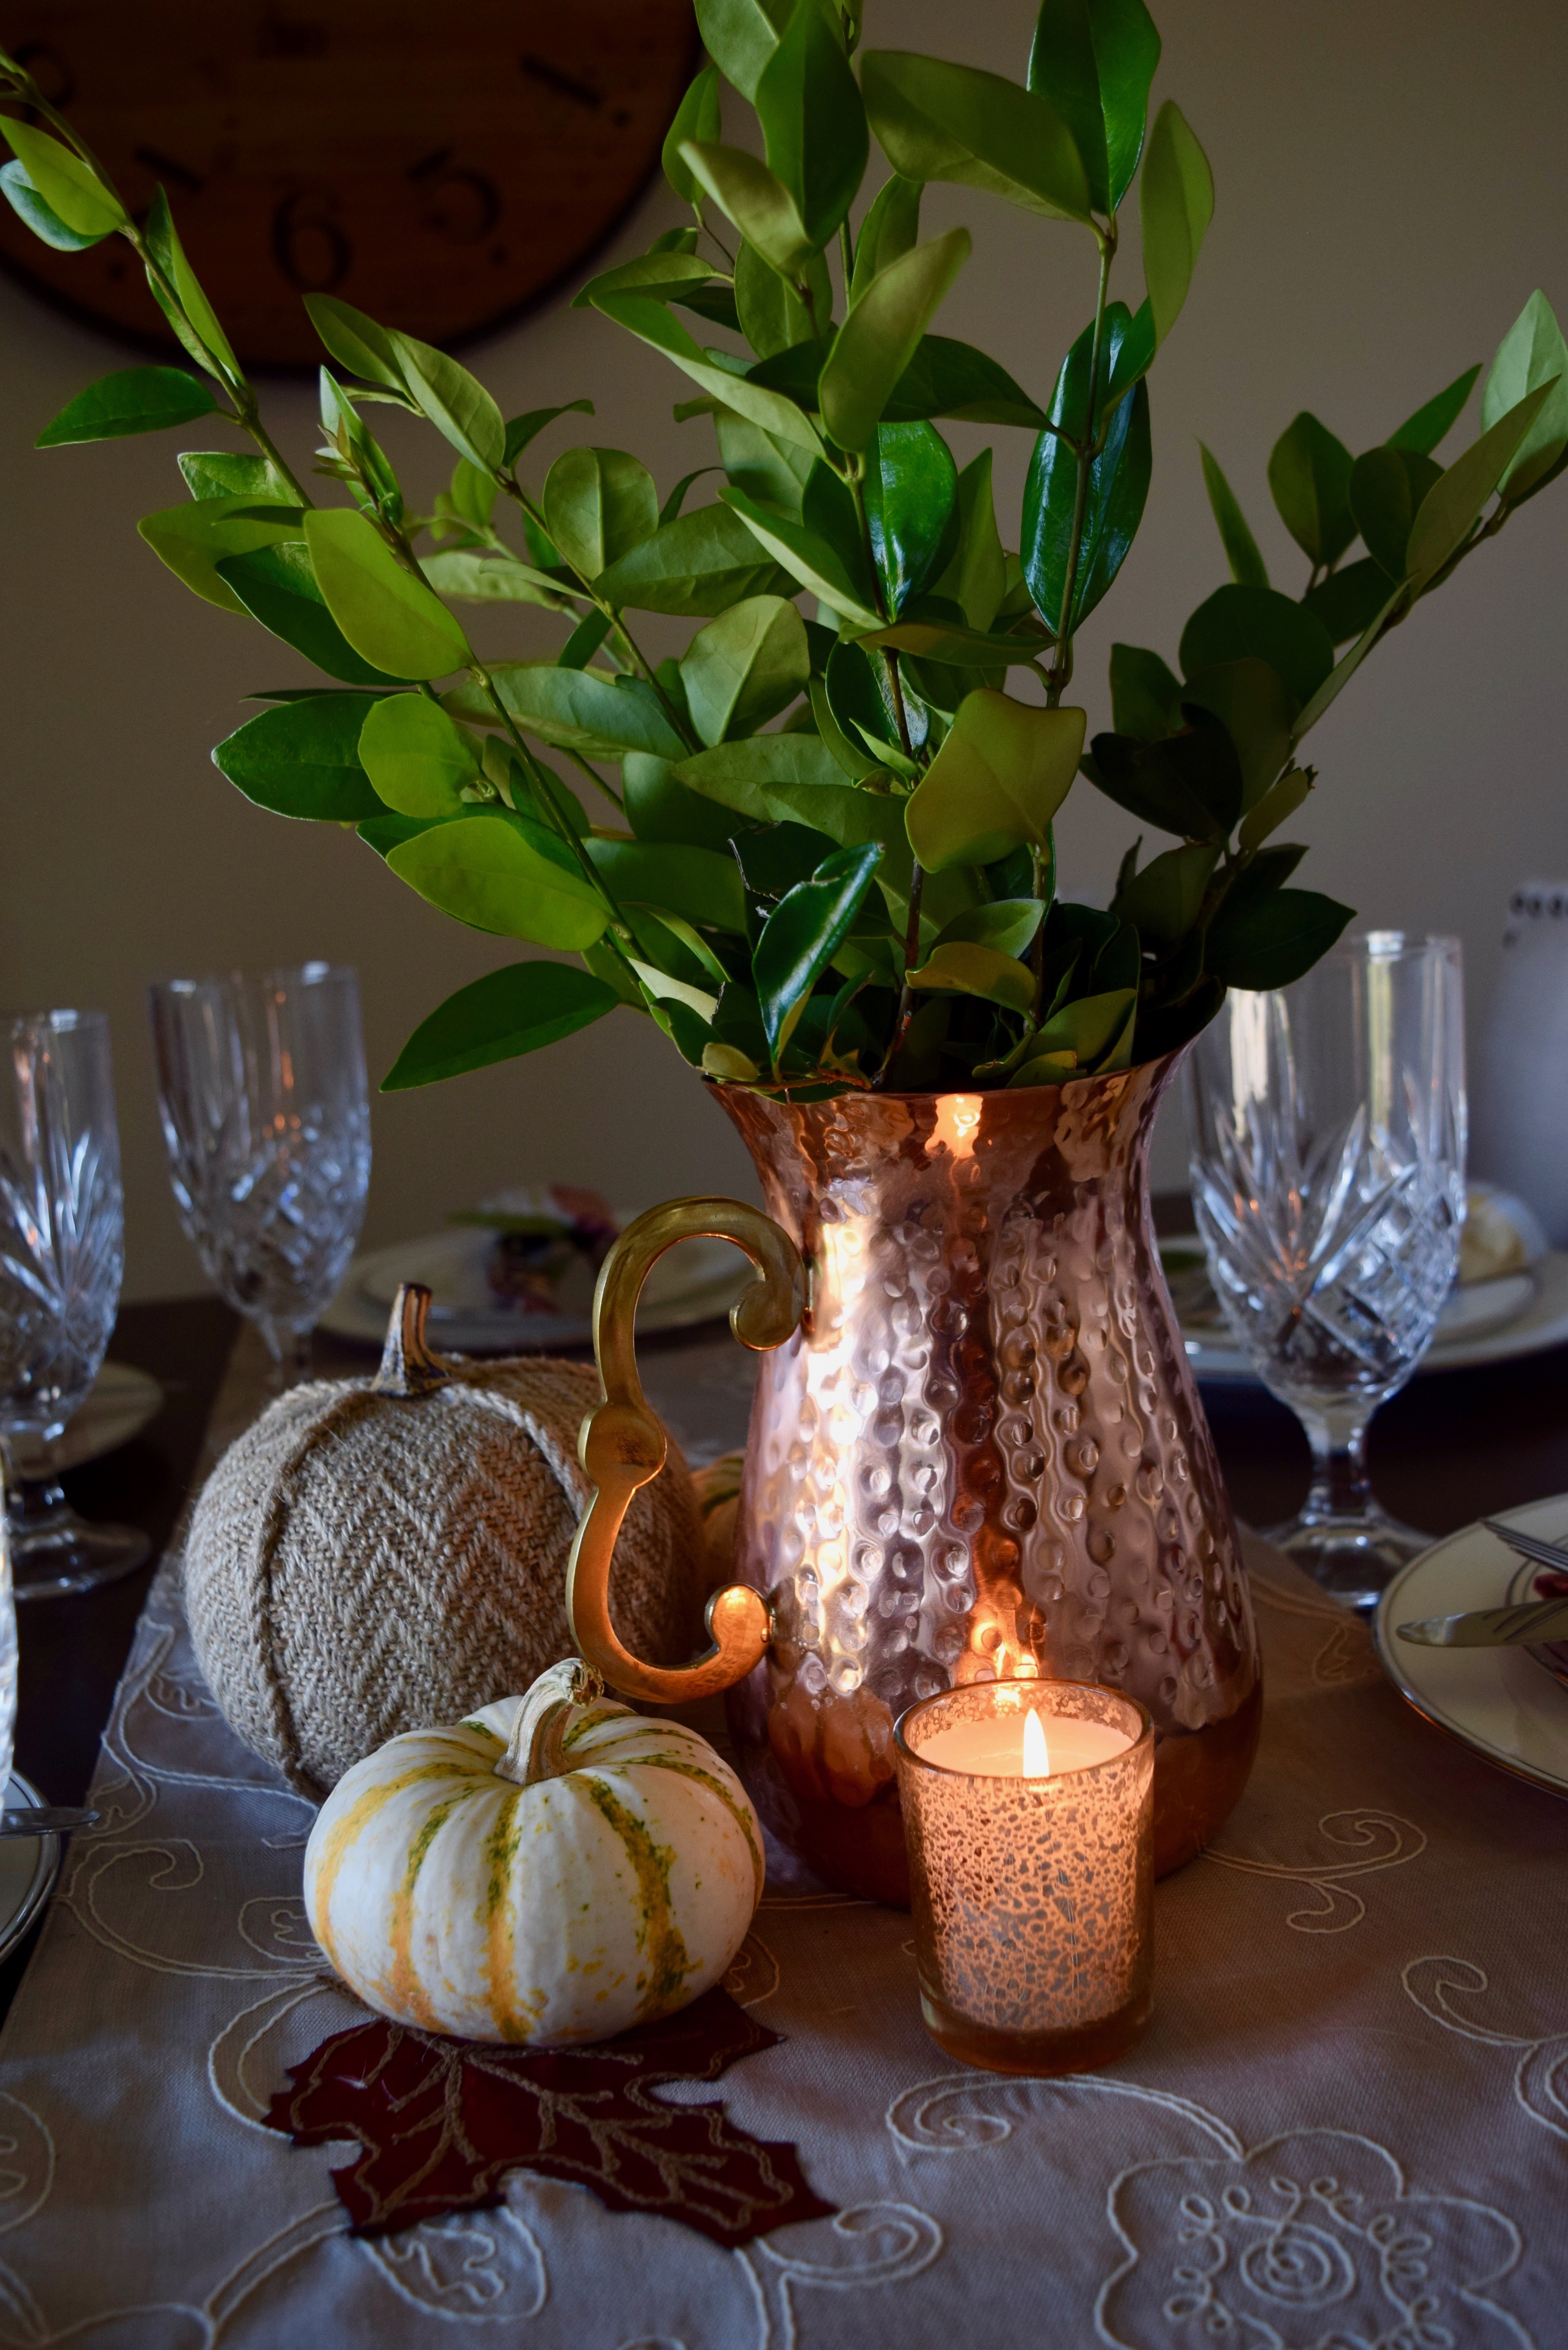
lenox china | water goblets | harvest plaid napkins | mercury glass votives |similar copper pitcher | similar burlap pumpkin | similar fall table runner
Picking Your Turkey
A good rule of thumb is 1 1/2 lbs of bird for each guest you’ll be having.
We had 8 guests and cooked a 13 pound turkey. There were plenty of leftovers for everyone to take home.
Fresh or Frozen?
We ended up having a fresh turkey because I waited until the night before to buy the turkey. (Don’t do this, your wallet will not be happy with you. Fresh turkeys are more expensive….especially when only Central Market has them in stock). If you’re buying a frozen turkey, make sure you take it out and give it plenty of time to thaw in the fridge, or even out in the sink.
A good rule of thumb is 24 hours of defrosting time for every 5 pounds of turkey.
The Butterball brand turkeys have a built in pop up thermometer for easier cooking. I planned to get this kind until I ran out of time.
What Else Do I Need?
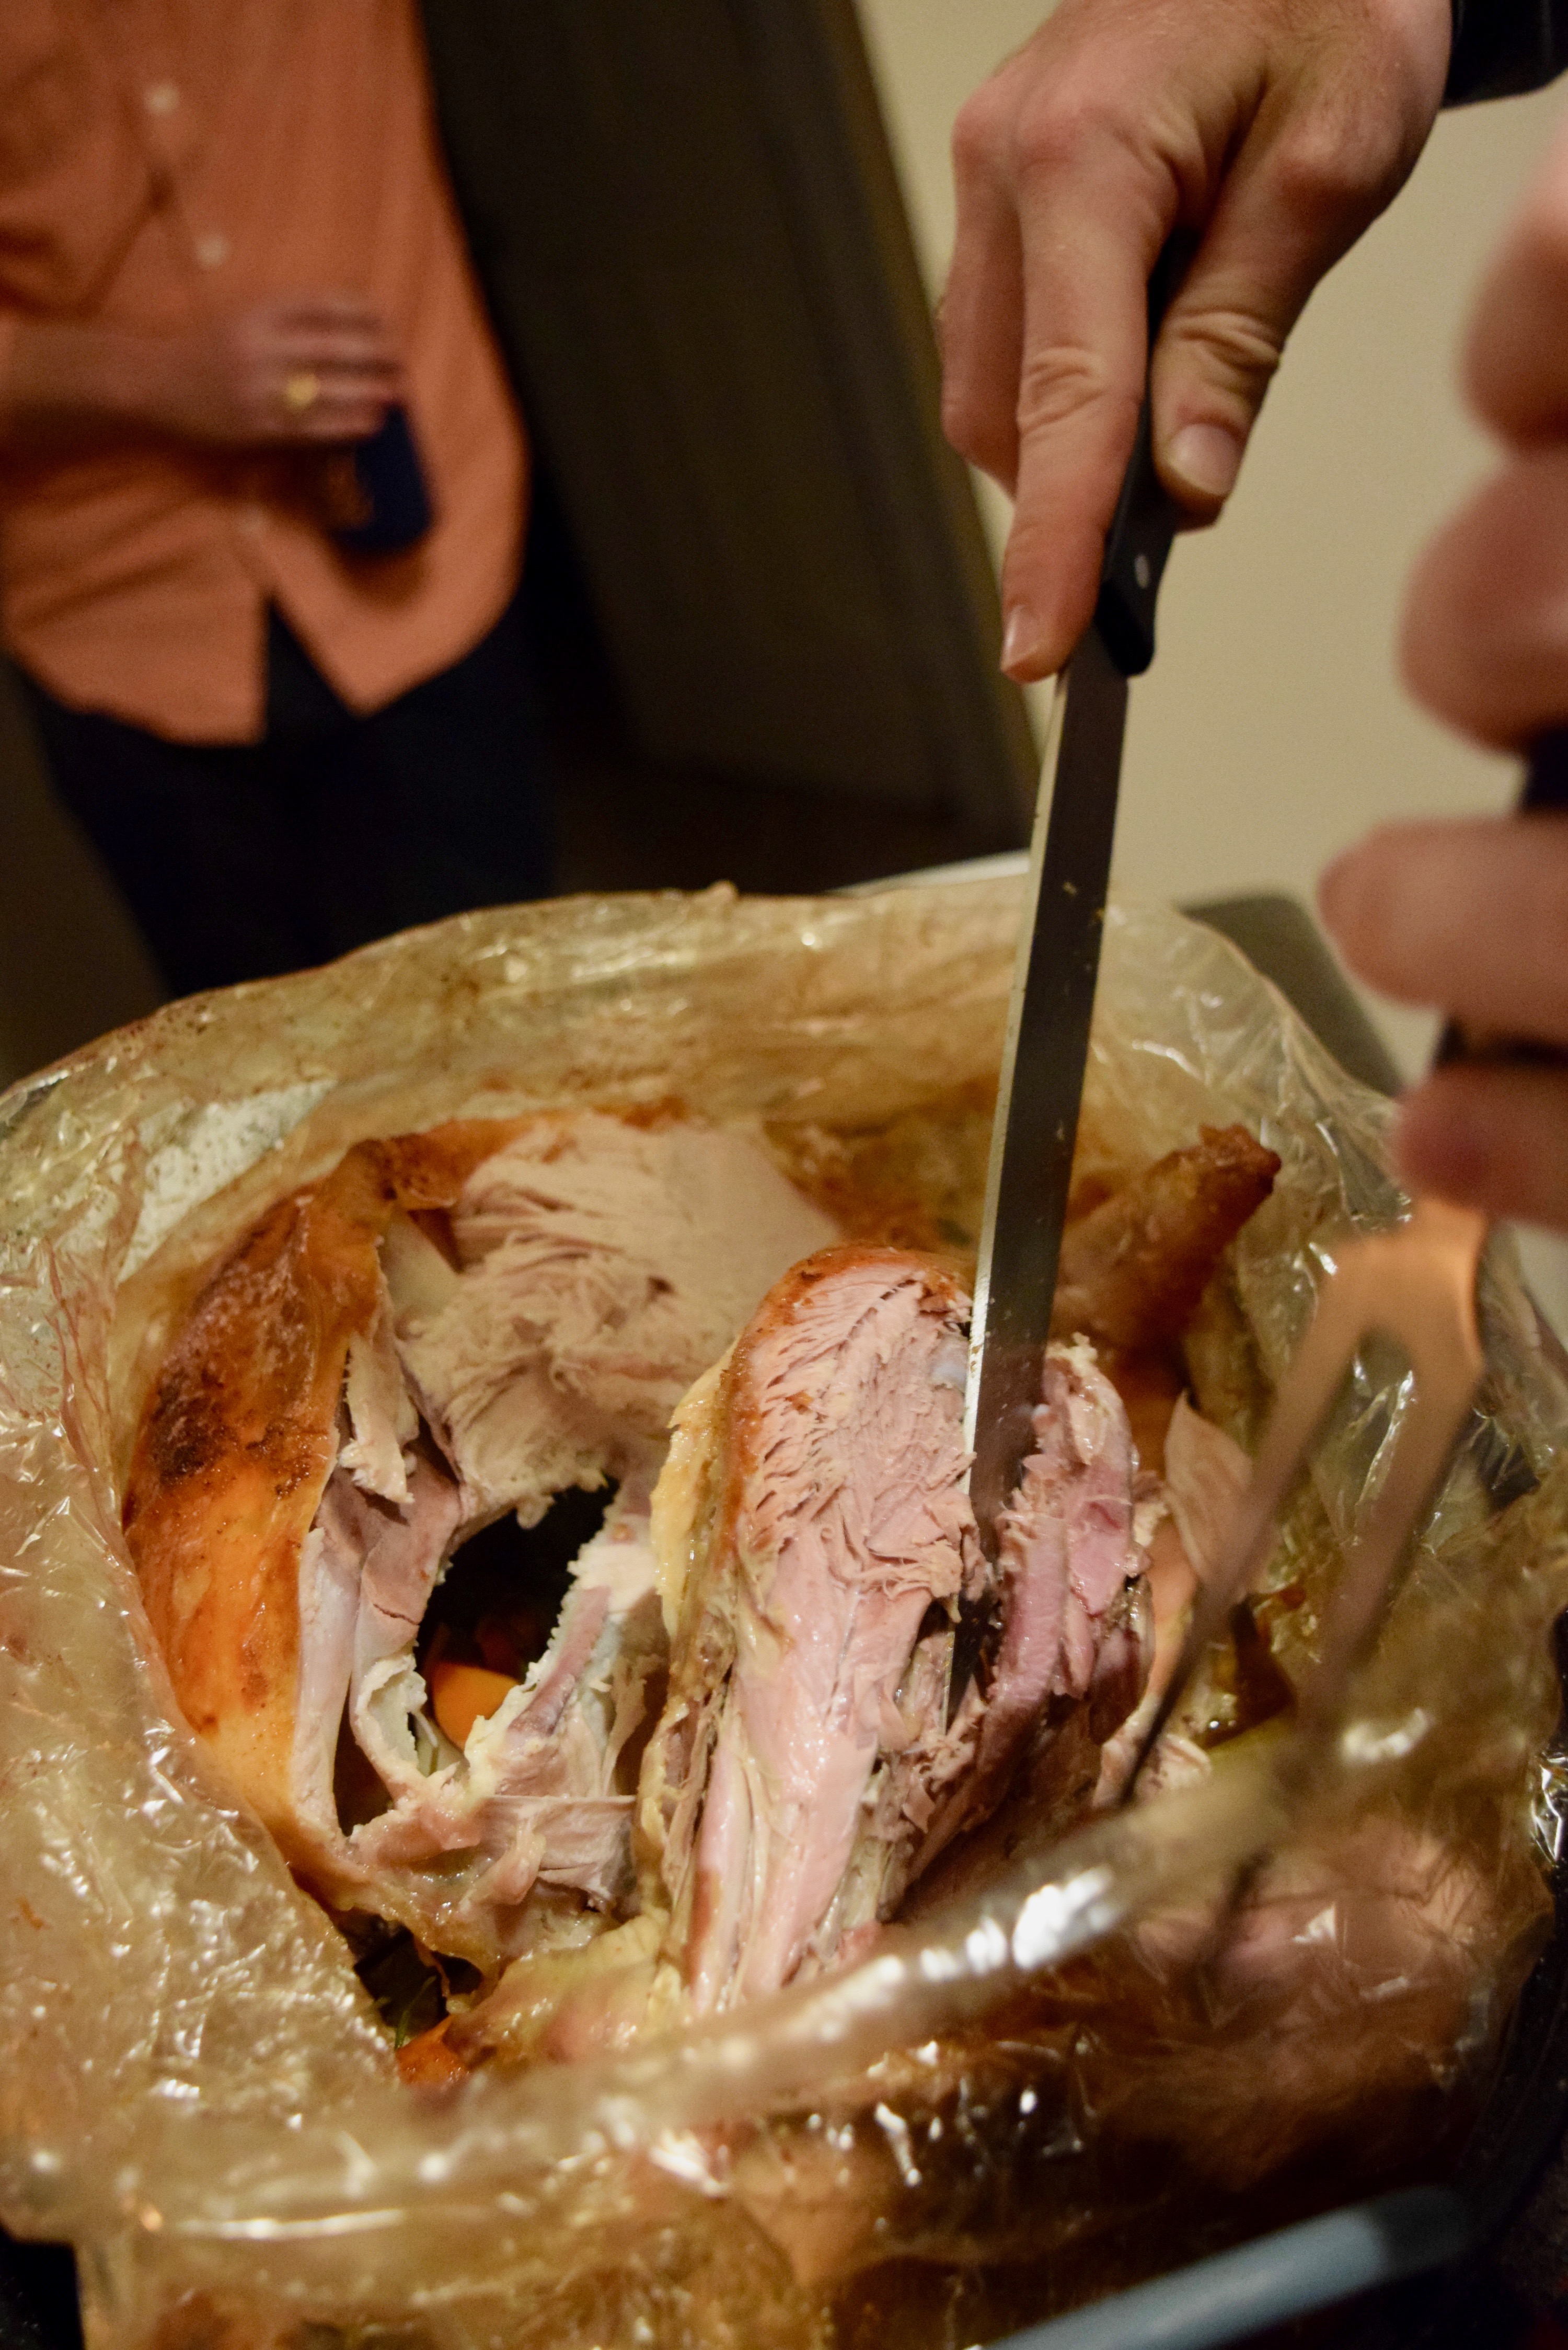
I’ve linked everything we used to cook our turkey- it came out incredible! I was so proud of my perfectly browned bird. The turkey roasting bag is totally optional, but I found it ensured that the bird didn’t dry out. It also makes clean up very easy 😉 (affiliate links used.)
- Roasting pan (borrow one from a friend’s mom if no one has one!) There’s a lot of fancy ones out there, but honestly this basic one does the trick!
- Carving knife set
- Cotton twine
- Oven-safe meat thermometer
- Roasting rack
- Turkey roasting bag (optional)
How Do I Cook It?
First, don’t be overwhelmed! It’s actually pretty simple- you prepare it and the oven does all the work.
Take it out of the fridge and put it in the sink 3-4 hours before you plan on cooking it so that it has a chance to come to room temperature.
I went off of this How To Cook A Turkey recipe from AllRecipes, but used olive oil instead of melted butter because I needed to hurry up and get it in the oven. PSA- Allow yourself at least 20 minutes to prep the bird before you want to start cooking.
Prepping the Bird
- Roll up your sleeves (trust me).
- Place turkey in the roasting pan on the rack to work with it.
- Remove the neck and bag of giblets from inside the cavity.
- Rinse the inside and outside of the bird. Pat dry with a paper towel.
- Season the inside of the bird with 1/3 of the seasoning.
- Stuff cavity with onion, celery, and carrots (or stuffing if you’re doing that!)
- Cover the outside of the bird with olive oil. With your hands. Get all up in that bird.
- Cover it with the rest of the seasoning.
- Tuck the wing tips in and tie the legs together with twine.
- You’ll need a helper here- pick up the bird and slide it into the turkey roasting bag.
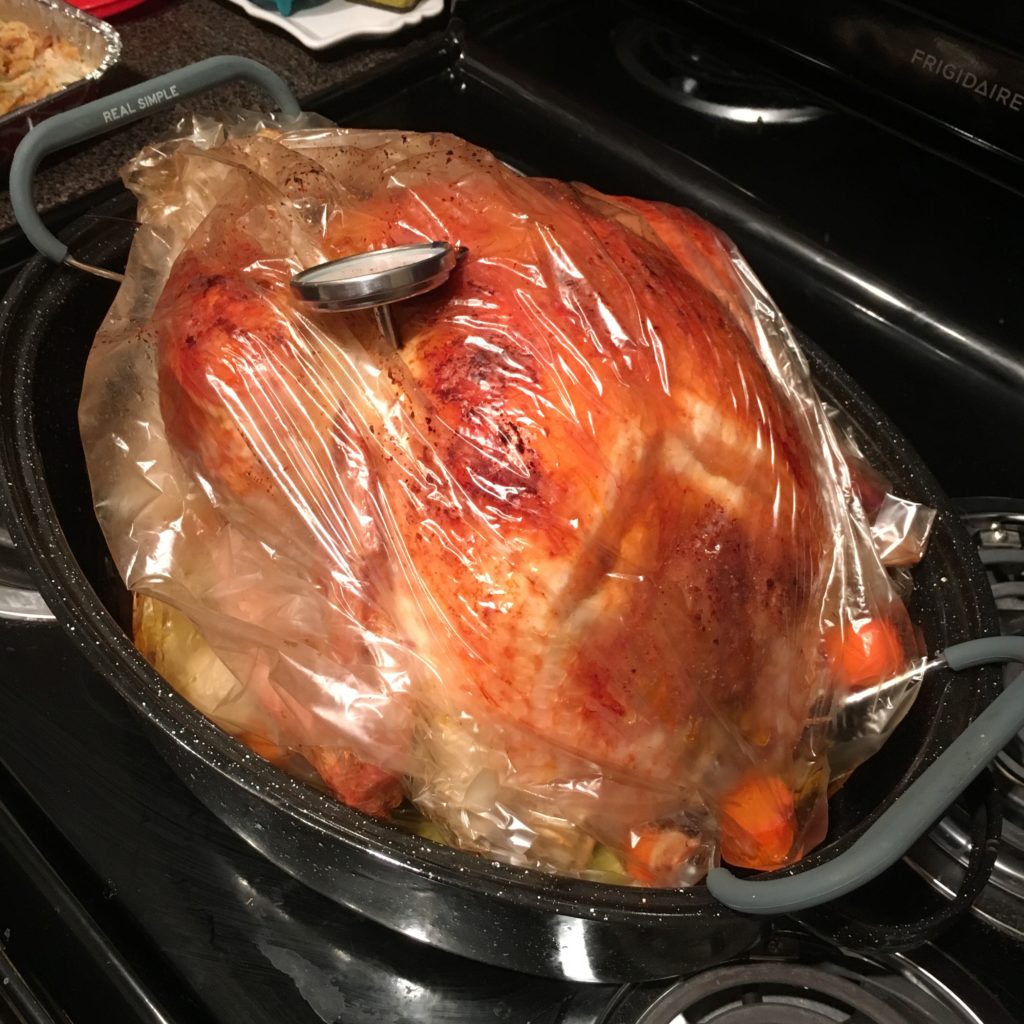
- Seal the bag with the enclosed tie, and insert the meat thermometer THROUGH THE OUTSIDE OF THE BAG. So you can actually read it. Slice a few other slits in the top of the bag (directions are on the outside of the turkey roasting bag box)
- You’re done. Put that bird in the oven on the lowest or second lowest rack level.
Important Notes
- Your turkey will need to cook 15 minutes for every pound. The meat thermometer is going to be your bff, because that’s what will ultimately tell you when it’s done.
- The turkey is going to continue to cook after you take it out. The internal temperature rose almost 10 degrees during the 30 minutes we let it rest before carving it.
- Oh, LET IT REST BEFORE CARVING IT. This gives it a chance to reabsorb the juices and flavor from cooking.
You can totally do this. It’s not as daunting as a task as people make it out to be, I promise! Do you have any secrets for cooking the perfect turkey? Let me know below!
Happy cooking,

A Simplified Life is a participant in the Amazon Services LLC Associates Program, an affiliate advertising program designed to provide a means for sites to earn advertising fees by advertising and linking to Amazon.com.

Leave a Reply