This post contains affiliate links. That means if you click or make a purchase, I make a little cash at no extra cost to you. I’ll probably use it to feed my dog. Thanks for feeding Sadie. (Don’t worry, she gets food regardless)
Whether you’re just starting out with a food blog or you’re well seasoned (😉), you know that photography is one of the biggest factors in food blogging. It can actually make or break your food blog! If you have poor quality photos, your readers won’t stick around, no matter how good your recipe is. Contrary to popular belief, you do not have to spend a lot of money on light boxes, reflectors, etc., to get incredible photos!
In this post, I’m going to share with you:
- How to get the best lighting for your photo to show off your food
- How to reflect light to eliminate shadows and create brighter photos
- The kind of dishes and props you should be using to compliment your food
- How to style your food to create eye-catching, visually appealing photos
When I started my blog, I didn’t want to spend an arm and a leg on photography equipment, but I knew that photos were the most important part of my recipes. If you’re reading this, chances are you’re in the same boat too. If I’m being honest, I’ve spent less than $10 on food photography equipment since starting ASL. For real. I want to help you snap beautiful, vivid photos of your food without breaking the bank, and today I’m showing you how!
Lighting
Natural light is your ultimate best friend. All of my shots are done on the dining room table next to the patio where light pours in (as seen below). The light should illuminate your entire subject without shadows or weird lines (like from blinds). If your light is coming in from the left, your food will cast a shadow to the right of your dish. The white poster board is used to reflect that light back onto that right side of the food, eliminating that shadow. It’s an easy, simple fix!
The BEST piece of advice I’ve gotten was to purchase these white poster boards at the store to help with reflecting light. They cost a few dollars and will change your food photography quality d r a m a t i c a l l y. Play around with them to reflect the natural light down onto your food to eliminate shadows. Remember that your photo doesn’t have to look perfect in the camera preview, as you can always edit it with a program. Here’s a candid photo of what my set up looks like.
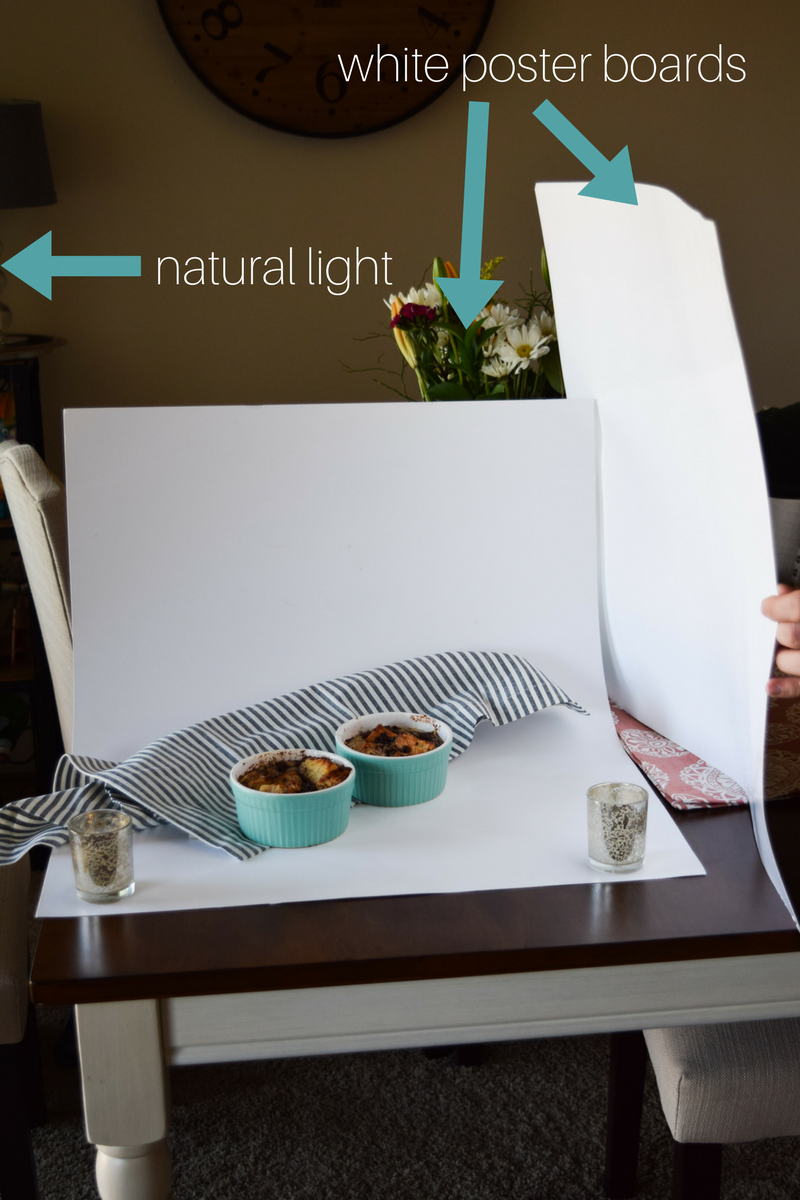
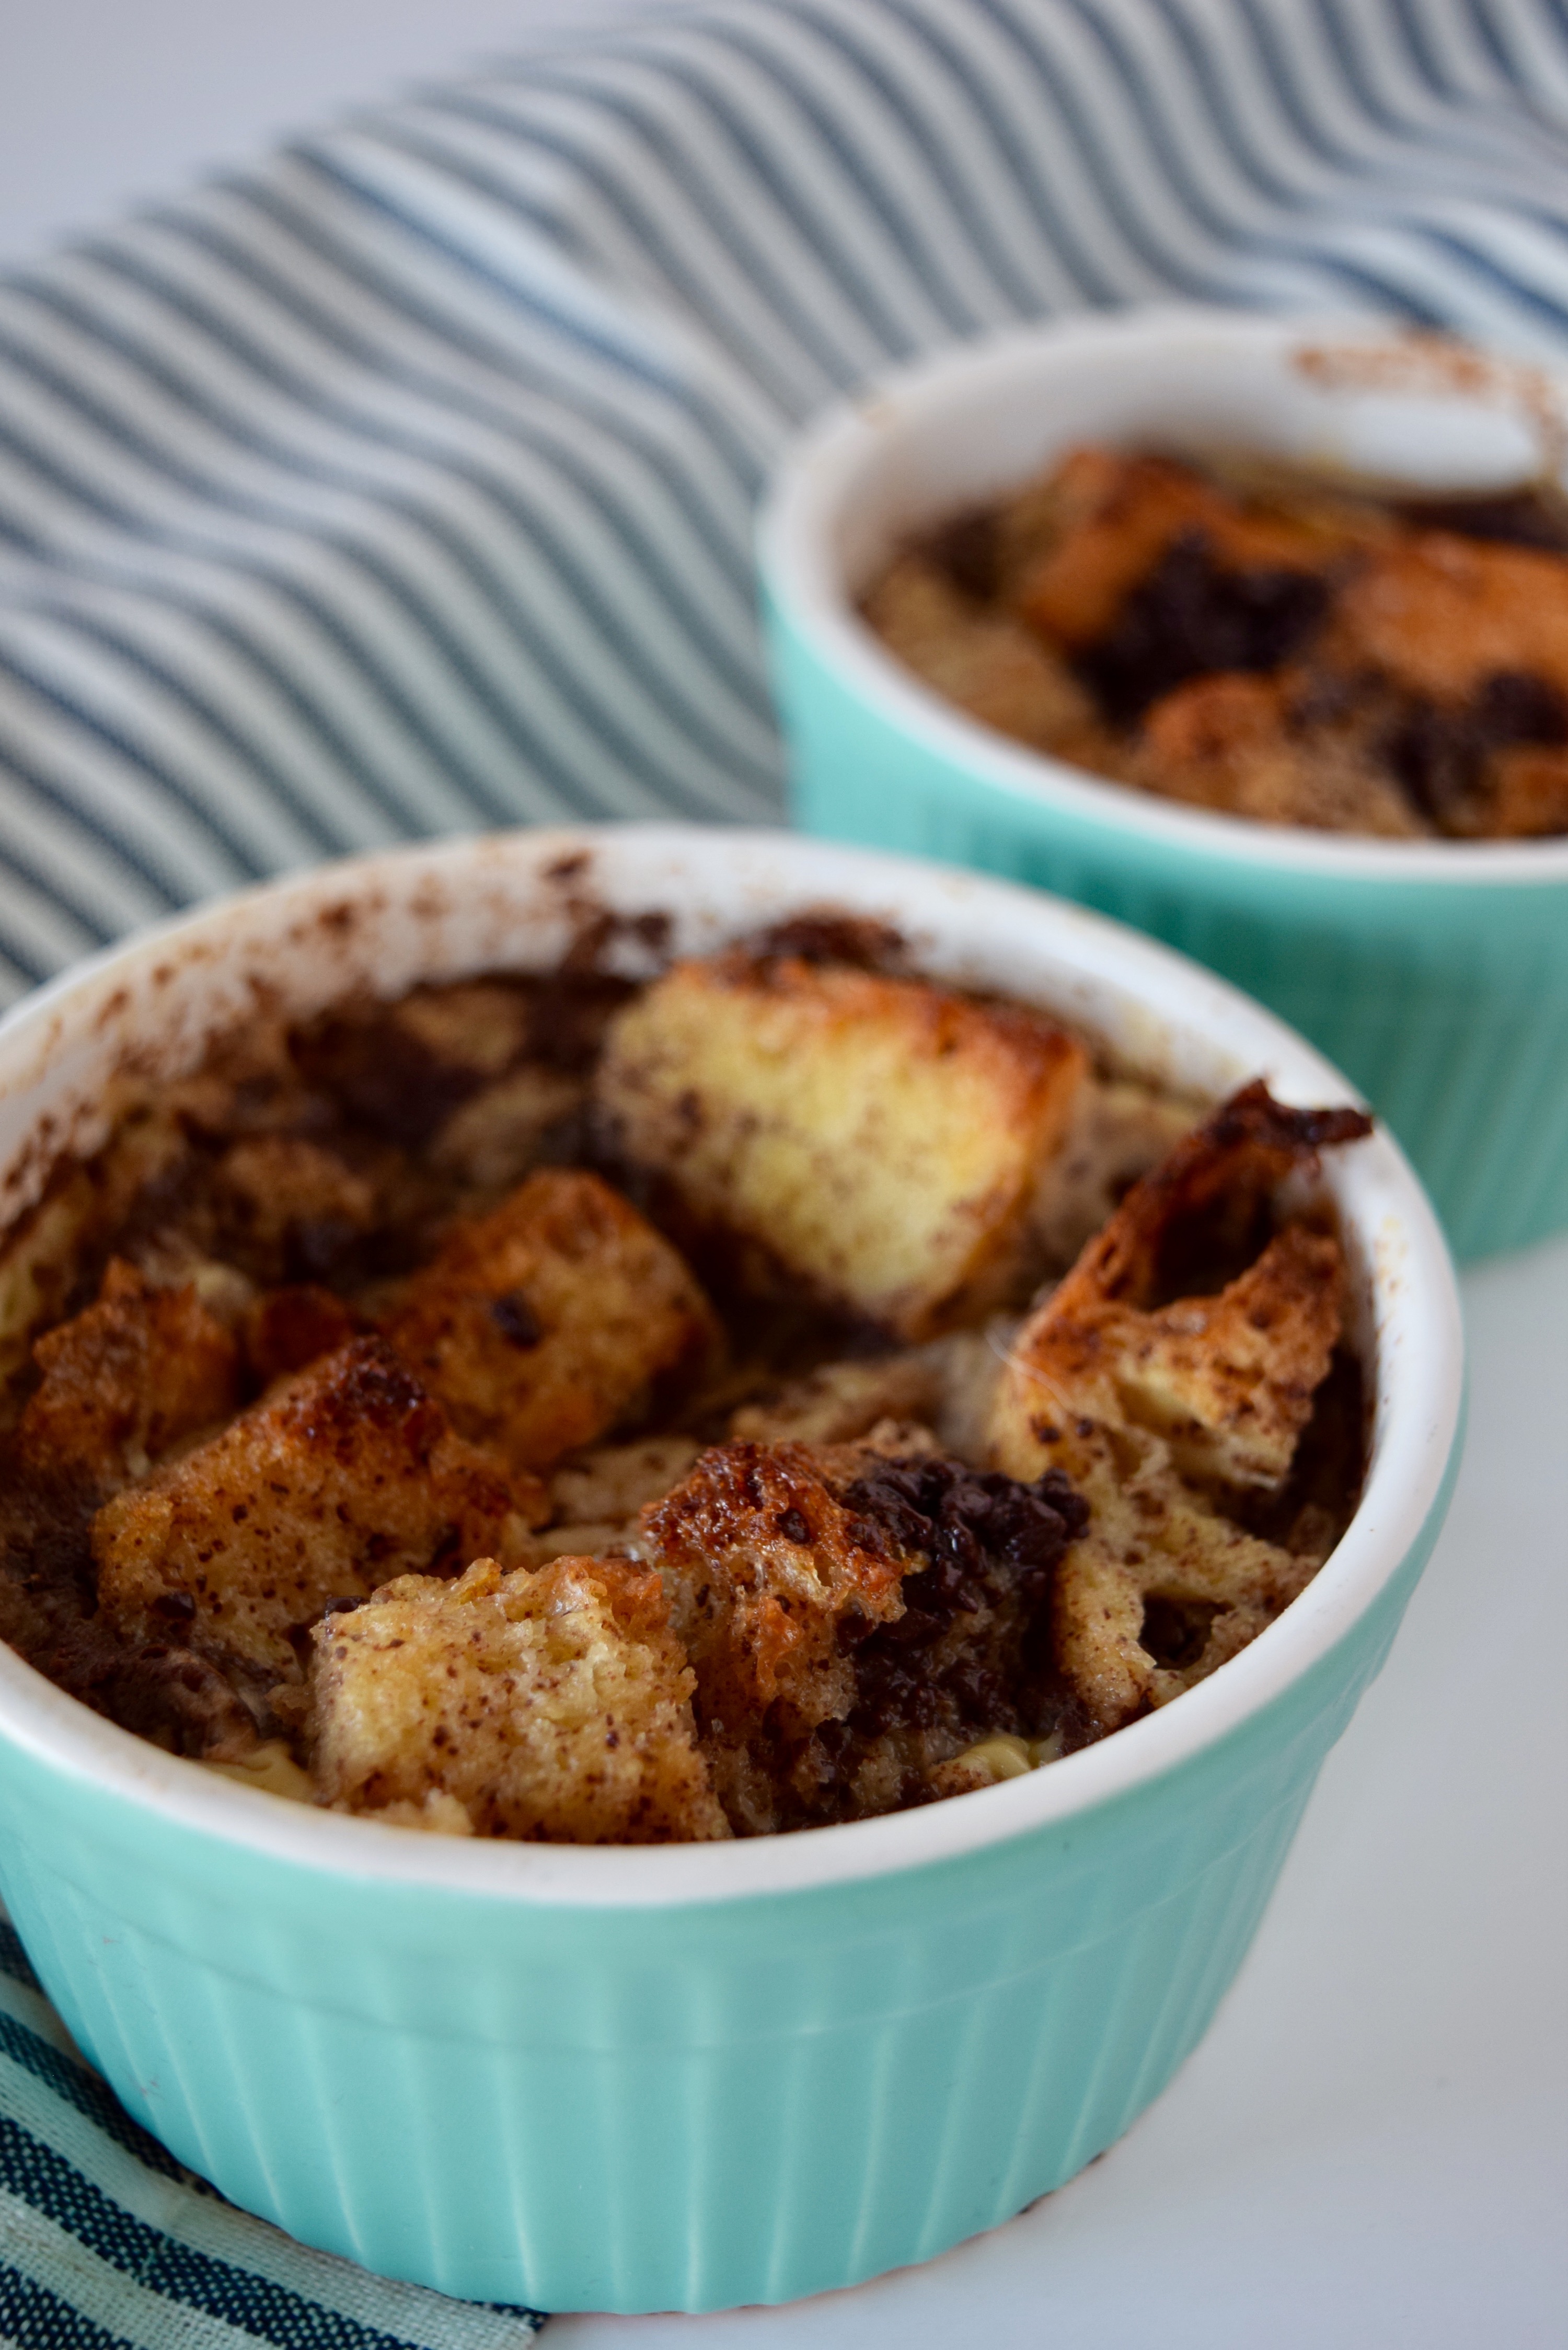
The candles are just there to keep the poster board from slipping, ha! To prove to you that it works, here’s the photo this setup produced (with minimal tweaking):
Props
Simple, non-reflective dish ware is best for photography, as you don’t want to draw attention away from the food. Most of my food photography is done on our plain white dishes (a personal preference, I just think it looks clean and crisp). Textured bowls and dishes always add interest to a photo,
You can always add some texture to your photos by using a wood cutting board below your dish, or a marble counter top. Budget hack: Order some granite contact paper, cover a board with it, and you have a cheap “marble counter top” for photos.
Lastly, adding a textured napkin, utensil, or serving tool to the photo can add some interest and set your photo apart. If you’re using a metal serving tool, just be sure you can’t see your reflection in the photo.
Food Styling
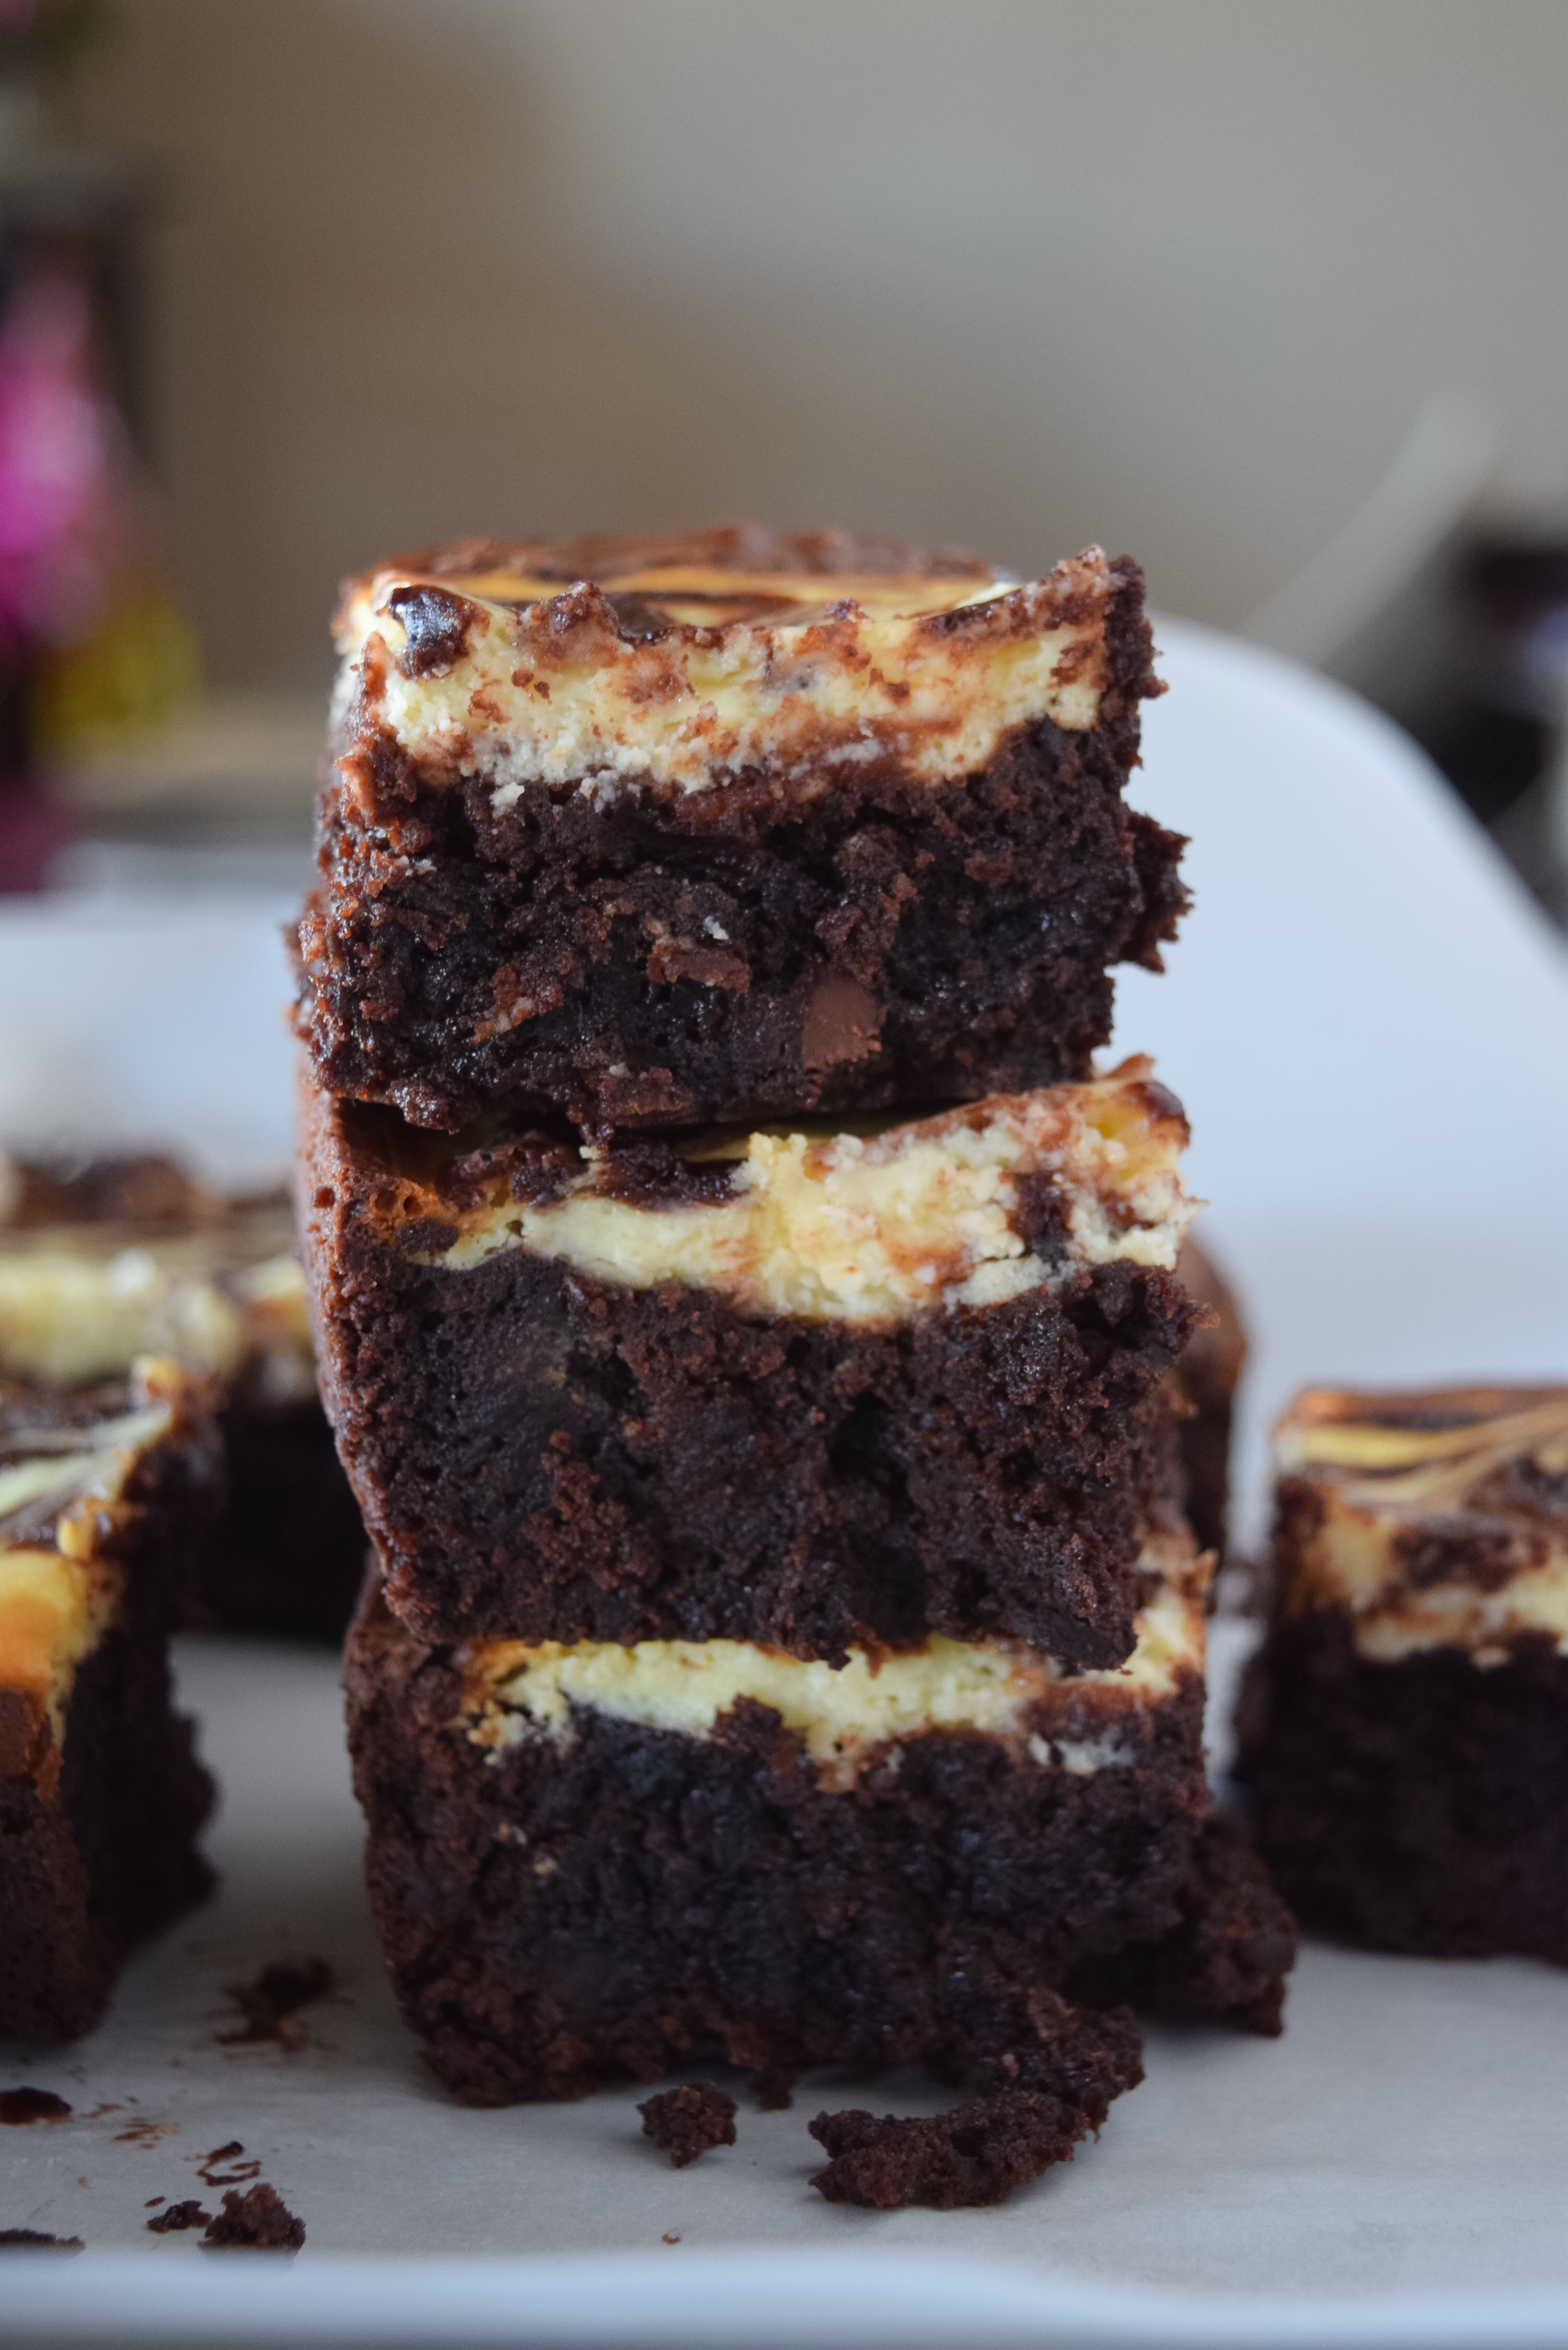
I’ve found that detail shots, “serving” shots and directly overhead shots are the most popular and visually appealing. I’ve experimented some with scattering ingredients on the table around my dish and have really liked that too. If you’re photographing cookies, muffins, or a dessert of some kind, stacking them really changes the look. It’s also very popular on Pinterest (see brownies below). Play around with your food and find what you like best!
Don’t be afraid to take your time, re-arrange the food and snap as many photos as you need. The great part about food photography is you’re not on a time constraint- it’s okay if the soup gets a little cold or the cookies aren’t perfectly warm when you’re finished shooting. The photos will look just the same! Take it slow, get the shot you need, and then enjoy what you made.
Good lighting, the right props, and visually appealing styling can be the difference between an “okay” recipe and a viral-on-Pinterest recipe. Take the time to practice with different positions and tools until you get the shot you’re looking for. The right photo should make you think “Wow!” when you look at it. You’ll know it when you see it!
Thanks for reading,


Leave a Reply